开发自己的npm脚手架
发布npm程序
注册账号
更换软件源:
npm get registry
得到结果如下,这个不是官方的需要更换:
npm get registry
https://registry.npmmirror.com/
设置官方的:
npm config set registry https://registry.npmjs.org/
弄完了设置回去:
npm config set registry https://registry.npmmirror.com/
控制台登录
此时在login
npm login
然后修改package.json内容: 例子:
{
  "name": "shang-utils", // 包名,必须要独一无二
  "version": "1.0.0", // 版本号
  "author": "xxx", // 作者
  "description": "common toolkit", // 描述信息
  "keywords": ["utils", "format", "money", "phone"], // 关键词,提升SEO
  "repository": {
    // 代码托管位置
    "type": "git",
    "url": "https://github.com/xxx/shang-utils"
  },
  "license": "ISC", // 许可证
  "homepage": "https://your-package.org", // 包的主页或者文档首页
  "bugs": "https://github.com/xxx/shang-utils/issues", // 用户问题反馈地址
  "main": "index.js", // 入口文件
  "scripts": {
    // 存放可执行脚本
    "test": "echo \"Error: no test specified\" && exit 1"
  },
  "dependencies": {
    // 运行依赖
  },
  "devDependencies": {
    // 开发依赖
  }
}
我的内容如下:
{
  "name": "vuepress-theme-hope-docs-template",
  "version": "1.0.0",
  "author": "yunfeidog",
  "description": "A project of vuepress-theme-hope",
  "keywords": ["vuepress", "docs", "blog", "vuepress-theme-hope"],
  "repository": {
    "type": "git",
    "url": "https://github.com/yunfeidog/docs-template"
  },

  "license": "MIT",
  "type": "module",
  "homepage": "https://yunfeidog.github.io/docs-template/",
  "scripts": {
    "docs:build": "vuepress build src",
    "docs:clean-dev": "vuepress dev src --clean-cache",
    "docs:dev": "vuepress dev src"
  },
  "devDependencies": {
    "@vuepress/client": "2.0.0-beta.53",
    "@vuepress/plugin-register-components": "^2.0.0-beta.51",
    "element-plus": "^2.2.25",
    "vue": "^3.2.45",
    "vuepress": "2.0.0-beta.53",
    "vuepress-theme-hope": "2.0.0-beta.130"
  }
}
最后发布:
npm publish
取消发布:
npm unpublish
开发一个npm create 脚手架
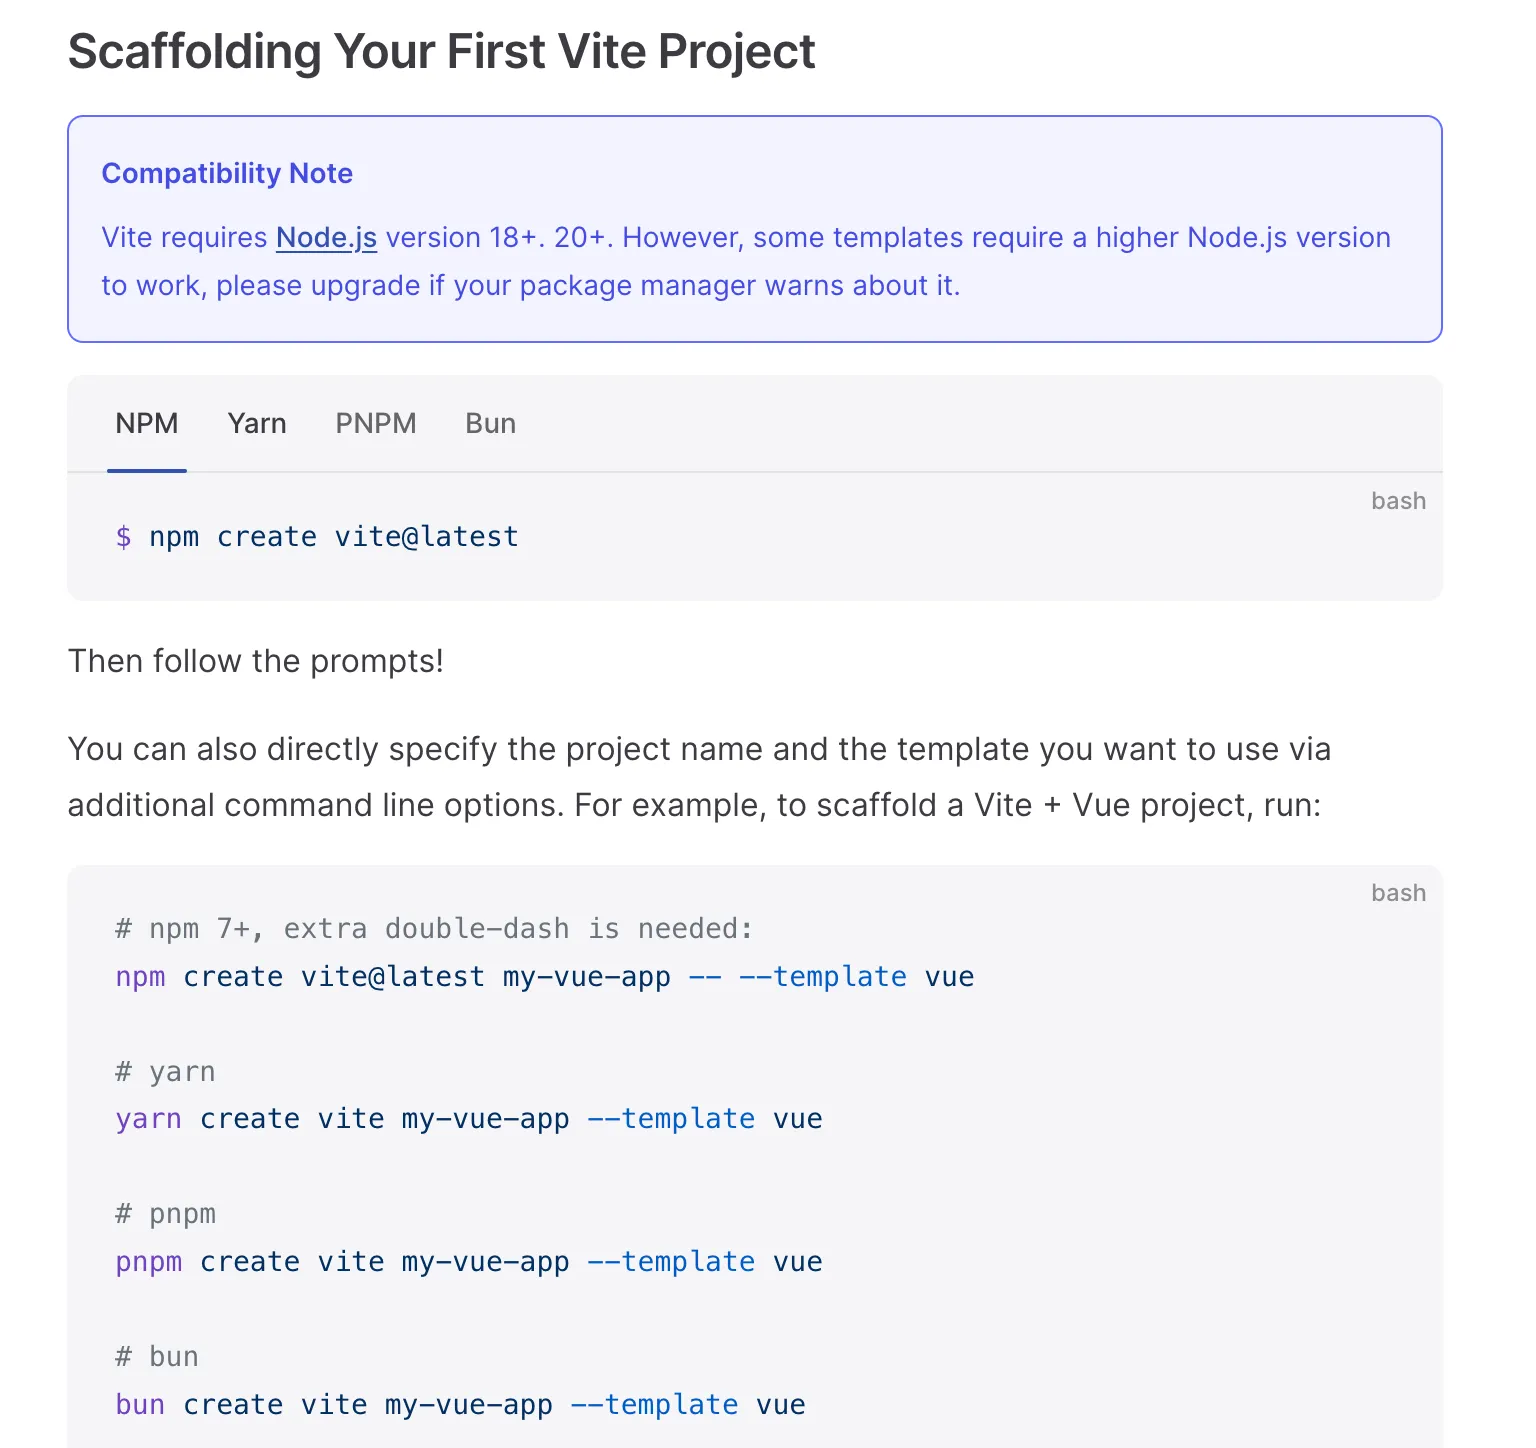
我们需要开发一个类似于Vite创建项目的脚手架,使用用户通过
npm create 我们的脚手架 项目名称
这种方式可以构建项目

创建项目
首先创建一个项目
pnpm init
自定义package.json文件
{
  "name": "test",
  "version": "1.0.0",
  "description": "",
  "main": "index.js",
  "type": "module",
  "bin": {
    "create-electron-prokit": "dist/index.js"
  },
  "scripts": {
    "test": "echo \"Error: no test specified\" && exit 1"  },
  "keywords": ["blog"],
  "author": "yunfei",
  "license": "MIT"
}
新建bin/index.js文件
写入一点内容:
#!/usr/bin/env node
console.log("全民制作人ikun,欢迎来到我的世界!")
运行:

package.json中加入:
"bin": "/bin/index.js",
接着执行:
npm link
这个link就相当于install 结果如下:

commander.js
官网:https://github.com/tj/commander.js/blob/master/Readme_zh-CN.md 安装:
npm install commander
打印信息:
#!/usr/bin/env node
import {program} from "commander";

console.log("全民制作人ikun,欢迎来到我的世界啊!")
program.parse(process.argv)
console.log(process.argv)

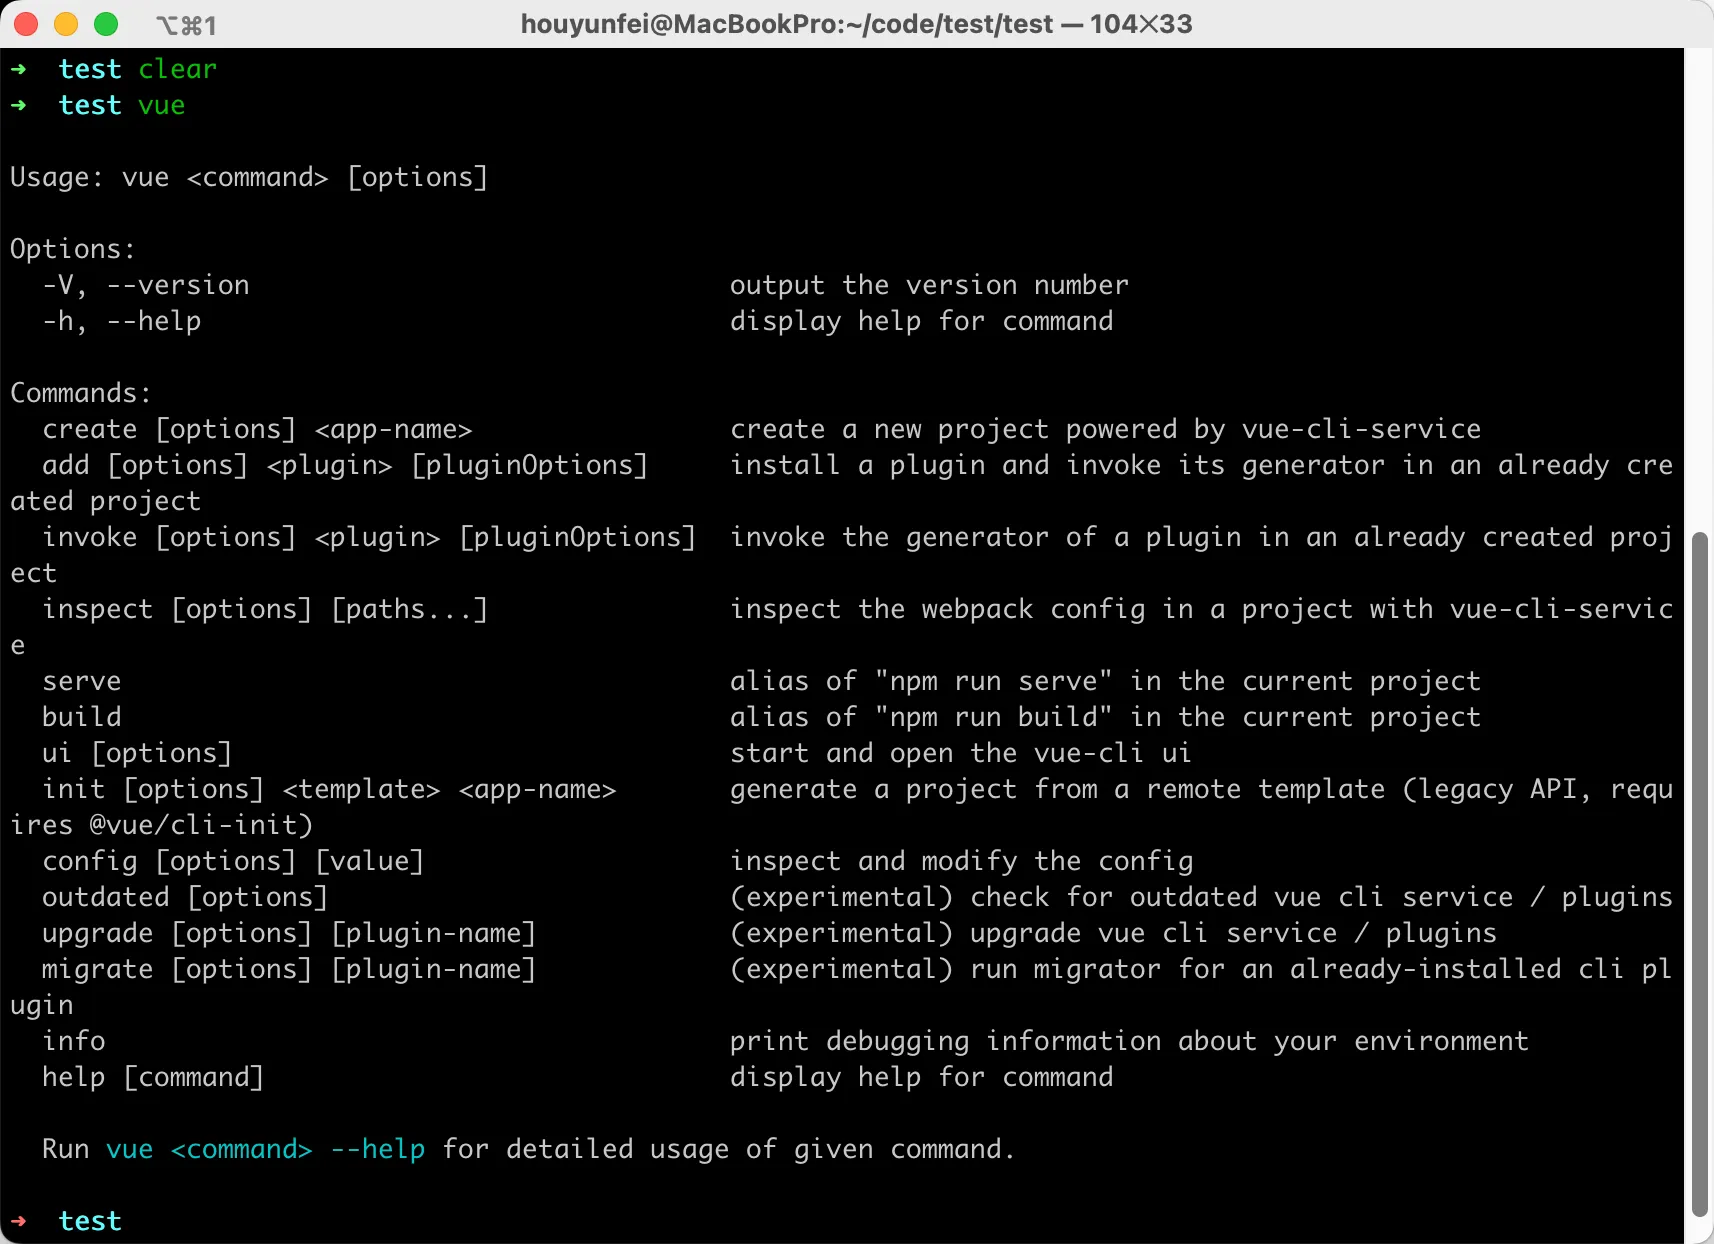
参考vue来设计

<> 里面的表示必填,[]表示选填

我们自己开发的执行--help是正常的,但是执行--version却没有,需要自己来开发这些选项
program.name('test-cxk').usage('<command> [options]')
program
    .option('-d, --debug', 'output extra debugging')
    .option('-s, --small', 'small pizza size')
    .option('-p, --pizza-type <type>', 'flavour of pizza')

program.parse(process.argv)
结果如下:

如何获取用户输入参数?例如-d?
program.name('test-cxk').usage('<command> [options]')
program
    .option('-d, --debug', 'output extra debugging')
    .option('-s, --small', 'small pizza size')
    .option('-p, --pizza-type <type>', 'flavour of pizza')

program.parse(process.argv)

const options = program.opts()
console.log(options)

测试必填参数<>内的,

参数
program
    .command('clone <source> [destination]')
    .description('clone a repository into a newly created directory')
    .action((source, destination) => {
        console.log('clone command called');
        console.log('source', source);
        console.log('destination', destination);
    });

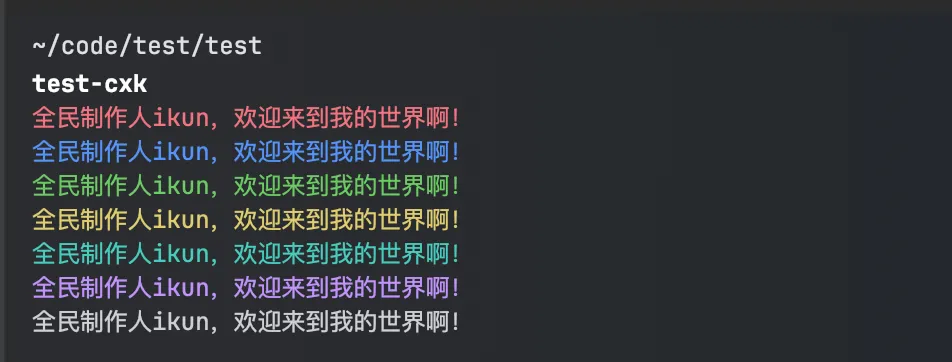
chalk美化终端
官网:https://github.com/chalk/chalk
注意必须要安装4版本的,因为要作为构建工具:
npm isntall chalk@4.0.0

function f2() {
    console.log(chalk.red('全民制作人ikun,欢迎来到我的世界啊!'))
    console.log(chalk.blue('全民制作人ikun,欢迎来到我的世界啊!'))
    console.log(chalk.green('全民制作人ikun,欢迎来到我的世界啊!'))
    console.log(chalk.yellow('全民制作人ikun,欢迎来到我的世界啊!'))
    console.log(chalk.cyan('全民制作人ikun,欢迎来到我的世界啊!'))
    console.log(chalk.magenta('全民制作人ikun,欢迎来到我的世界啊!'))
    console.log(chalk.white('全民制作人ikun,欢迎来到我的世界啊!'))
}

inquirer.js命令行交互
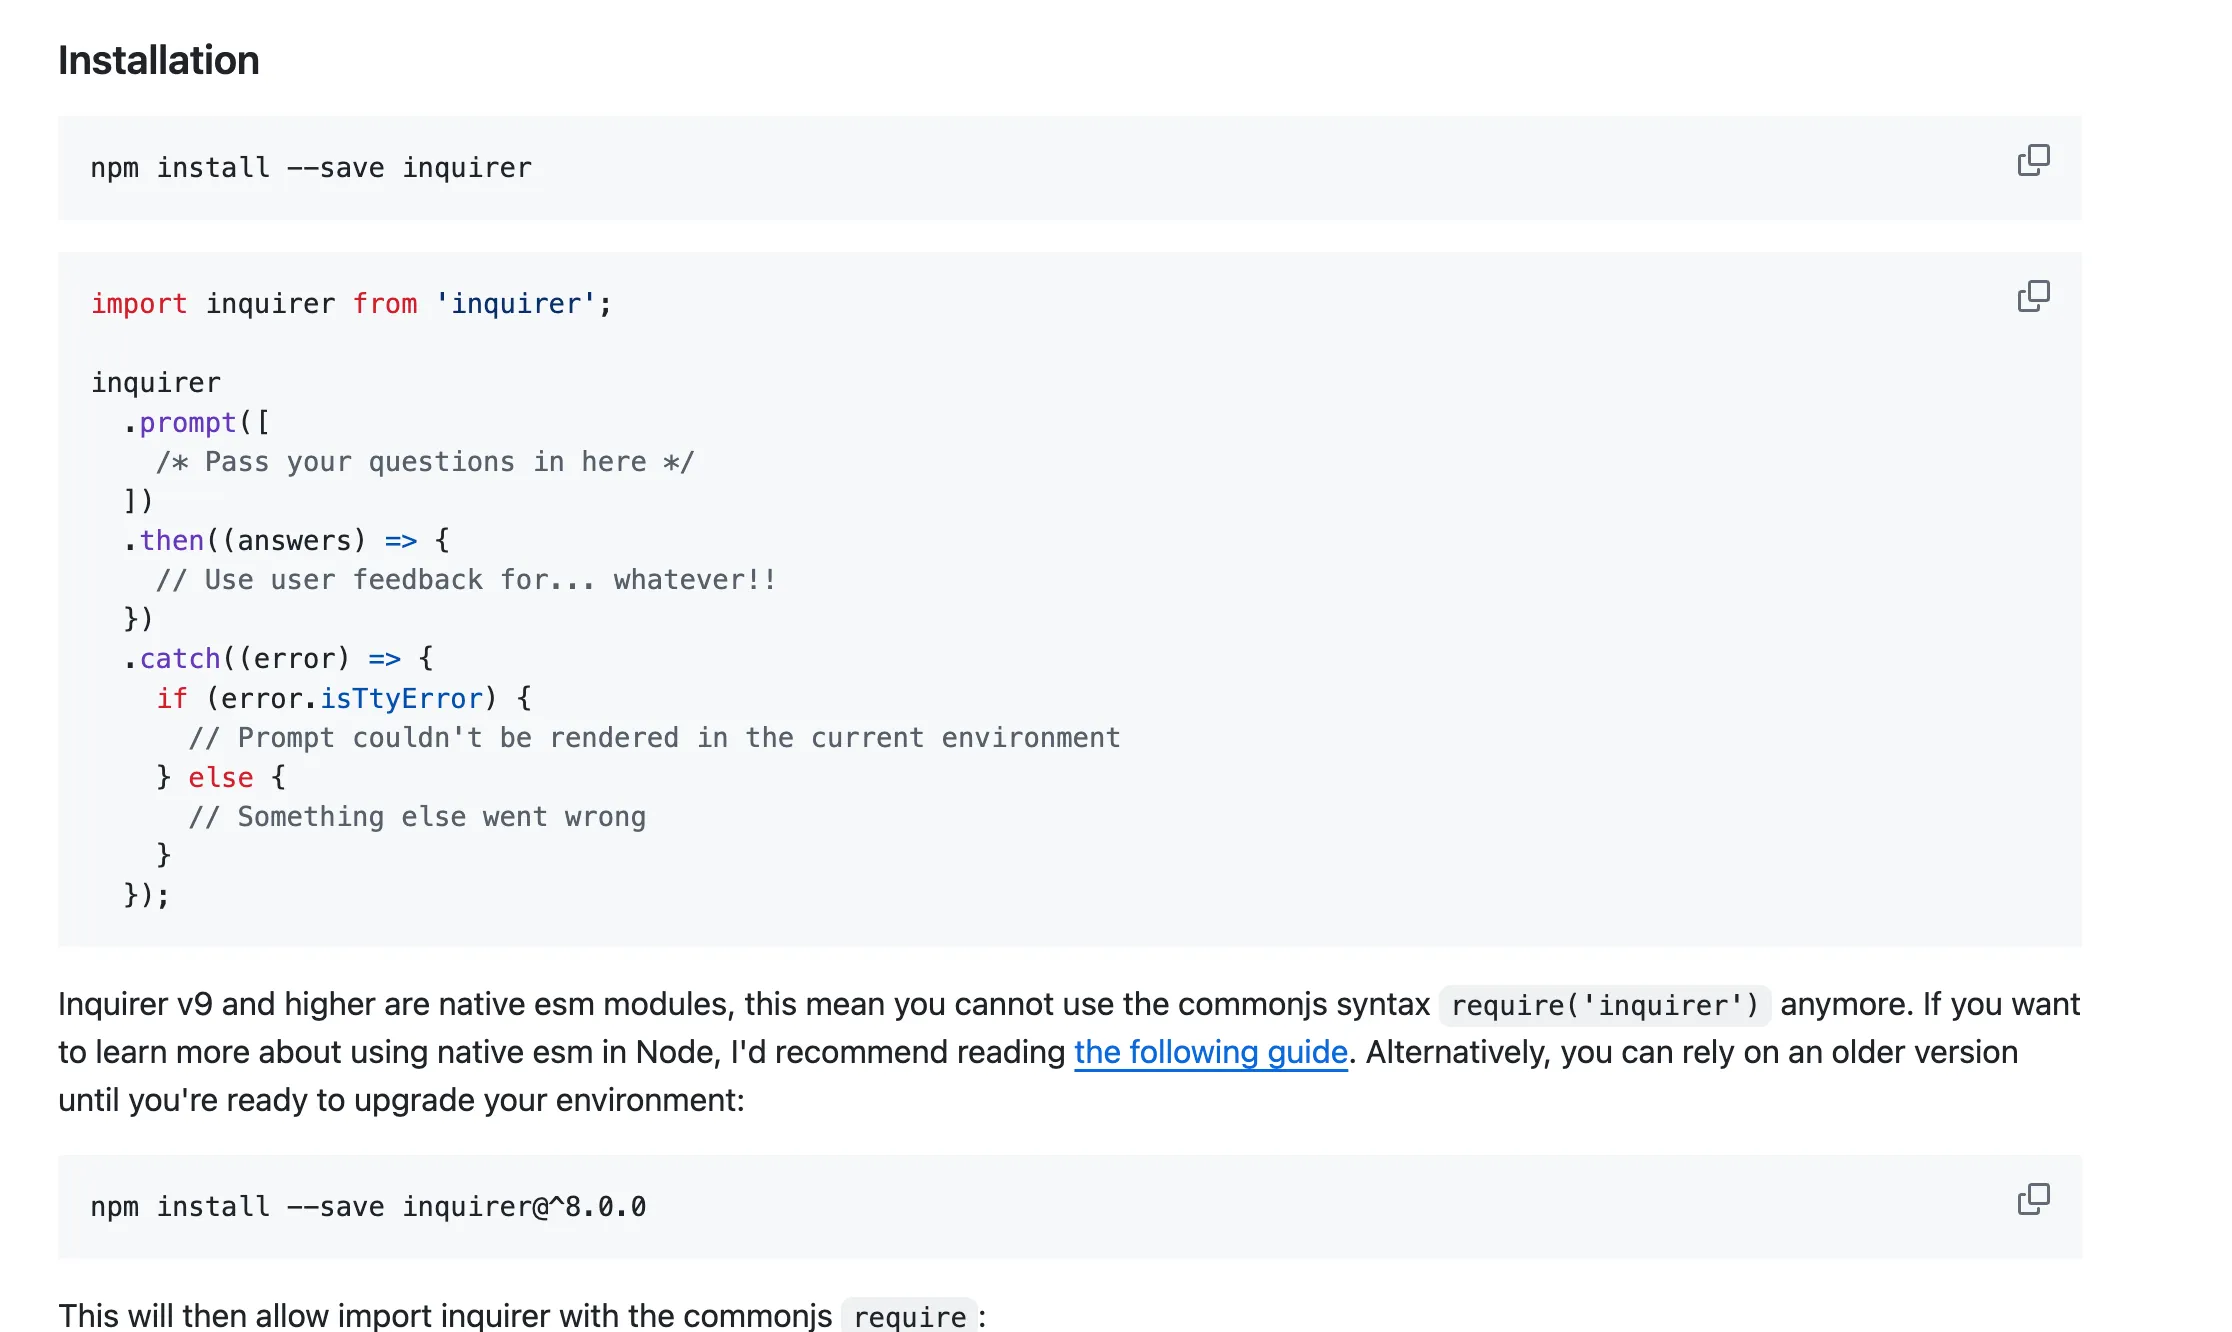
官网:https://github.com/SBoudrias/Inquirer.js/blob/main/packages/inquirer/README.md

同理,我们需要降级操作:
npm install --save inquirer@^8.0.0
import inquirer from 'inquirer';

function f3() {
    inquirer.prompt([
        {
            type: 'input',
            name: 'food',
            message: '你想吃什么,小黑子?',
            default: '烤坤'
        }
    ]).then((answers) => {
        // Use user feedback for... whatever!!
        console.log(answers)
    }).catch((error) => {
        if (error.isTtyError) {
            // Prompt couldn't be rendered in the current environment
        } else {
            // Something else went wrong
        }
    });
}

ora.js终端loading美化工具
npm install ora@5.0.0
加载
function f4() {
    const spinner = ora('Loading unicorns').start();

    setTimeout(() => {
        spinner.color = 'yellow';
        spinner.text = 'Loading rainbows';
    }, 1000);

    setTimeout(() => {
		spinner.succeed('加载成功');
    }, 3000);
}


figlet终端生成艺术字
官网:https://github.com/patorjk/figlet.js
npm install figlet
function f5() {

    figlet("Hello World!!", function (err, data) {
        if (err) {
            console.log("Something went wrong...");
            console.dir(err);
            return;        }
        console.log(data);
    });
}

fs-extra操作本地目录
npm install fs-extra
git-clone下载
https://github.com/jaz303/git-clone
npm install git-clone
随便开发一个脚手架
#!/usr/bin/env node

const {program} = require('commander')
const figlet = require("figlet");

const path = require('path')
const fs = require("node:fs");
const inquirer = require("inquirer");
const gitClone = require('git-clone')
const ora = require("ora");
const chalk = require("chalk");
//首行提示
program.name('test-cxk').usage('<command> [options]')

//版本号
program.version(`v${require('../package.json').version}`)

const projectList = {
    'vue': 'git@github.com:yunfeidog/docs-template.git',
    'react': 'git@github.com:yunfeidog/MediaCrawler.git',
    'vue-ts': 'git@github.com:yunfeidog/ACM.git',
    'react-ts': 'git@github.com:yunfeidog/leetcode-master.git'
}

//命令 创建项目的命令
program
    .command('create <project-name>')
    .description('创建一个新项目')
    .action(async (name) => {
            //创建项目的逻辑
            //创建一个名字为name的文件夹,把我们的模板拷贝到这个文件夹下
            //1.先判断有没有这个文件夹

            //拼接出要创建的文件夹的路径
            const targetPath = path.join(process.cwd(), name)
            if (fs.existsSync(targetPath)) {
                console.log('文件夹已经存在')
                //是否要覆盖
                const answer = await inquirer.prompt([
                    {
                        type: 'confirm',
                        name: 'overwrite',
                        message: '文件夹已经存在,是否要覆盖?',
                        default: true
                    }
                ])
                if (answer.overwrite) {
                    //删除文件夹
                    fs.rm(targetPath, () => {
                        console.log('文件夹删除成功')
                    })
                } else {
                    console.log('取消创建')
                    return
                }
            }
            //创建文件夹
            const res = await inquirer.prompt([
                {
                    type: 'list',
                    message: '选择什么框架新建项目?',
                    name: 'type',
                    choices: [
                        {name: 'vue', value: 'vue'},
                        {name: 'react', value: 'react'}
                    ]
                },
                {
                    type: 'list',
                    message: '是否要用ts?',
                    name: 'ts',
                    choices: [
                        {name: '是', value: 'yes'},
                        {name: '否', value: 'no'}
                    ]
                }
            ])
            console.log(res)
            const {type, ts} = res
            const gitUrl = projectList[`${type}${ts === 'yes' ? '-ts' : ''}`]

            const spinner = ora('正在下载模板...').start()

            //下载模板
            gitClone(gitUrl, name, null, function (err) {
                if (err) {
                    spinner.fail('下载失败')
                } else {
                    spinner.succeed('下载成功')
                    //删除.git文件
                    fs.rm(path.join(targetPath, '.git'), () => {
                    })
                    console.log("Done,now run: ")
                    console.log(chalk.cyan(`cd ${name}`))
                    console.log(chalk.cyan('npm install'))
                    console.log(chalk.cyan('npm run serve'))
                }
            })
        }
    )


//给help添加信息提示
program.on('--help', () => {
    console.log(
        figlet.textSync("cxk!", {
            font: "Ghost",
            horizontalLayout: "default",
            verticalLayout: "default",
            width: 80,
            whitespaceBreak: true,
        })
    );
})


program.parse(process.argv)
package.json
{
  "name": "test-cxk-docs",
  "version": "1.0.0",
  "description": "",
  "main": "index.js",
  "type": "module",
  "bin": "/bin/index.cjs",
  "scripts": {
    "test": "echo \"Error: no test specified\" && exit 1",
    "dev": "node --experimental-specifier-resolution=node --loader ts-node/esm index.ts"
  },
  "keywords": [
    "blog"
  ],
  "author": "yunfei",
  "license": "MIT",
  "devDependencies": {
    "@types/node": "^20.12.7",
    "typescript": "^5.4.5"
  },
  "dependencies": {
    "chalk": "^4.0.0",
    "commander": "^12.0.0",
    "figlet": "^1.7.0",
    "fs-extra": "^11.2.0",
    "git-clone": "^0.2.0",
    "inquirer": "^8.2.6",
    "ora": "^5.0.0"
  }
}
发布
npm publish
测试
安装依赖
npm install test-cxk-docs -g
已经发布脚手架
下面命令可以用来快速构建一个博客模版
pnpm install yunfei-docs-template-npm -g
yunfei-docs-template-npm create app