Shell美化相关
简介
mac有两种shell,zsh和bash,zsh兼容bash
查看当前使用的shell
echo $SHELL
切换bash
chsh -s /bin/bash
切换zsh
chsh -s /bin/zsh
bash:读取~/.bash_profile文件
zsh:读取~/.zshrc文件
环境变量
在 macOS 系统下,四��个文件都可以用来设置 shell 的环境变量和控制用户的 shell 行为。但是,它们各自有不同的作用范围和加载时机:
/etc/profile:在用户登录系统时被读取,定义系统级别的环境变量,并且对所有用户都生效。/etc/bashrc:在交互式 shell 启动时被读取,定义系统级别的 bash 命令别名和 shell 函数,并且对所有用户都生效。~/.bashrc:在交互式 shell 启动时被读取,定义个人级别的 bash 命令别名和 shell 函数,并且只对当前用户生效。~/.bash_profile:在用户登录系统时被读取,定义个人级别的环境变量和用户特定的 shell 配置,并且只对当前用户生效。~/.zshrc是 Zsh shell 的配置文件,是使用 Zsh 时读取的主要配置文件之一。它存放在用户目录下的~/.zshrc文件中。
简单说来,/etc/profile 和 /etc/bashrc 是系统级别的配置文件,用于所有用户,而 ~/.bashrc 和 ~/.bash_profile
是个人级别的配置文件,只对个人生效。其中,个人配置文件的优先级高于系统配置文件,即如果同一个环境变量在两个文件中都存在,那么个人配置文件中的会覆盖系统配置文件中的。
安装 Oh My Zsh
需要先按照zsh,MacOs默认自带
Centos 可以使用yum安装zsh
yum install -y zsh
安装只需要一行命令:
sh -c "$(curl -fsSL https://raw.githubusercontent.com/ohmyzsh/ohmyzsh/master/tools/install.sh)"
安装语法高亮插件
git clone https://github.com/zsh-users/zsh-syntax-highlighting.git
配置,加入到环境变量中,可以加入到~/.zshrc或者~/.bash_profile
,注意加到是zsh-syntax-highlighting文件夹里面的那个zsh-syntax-highlighting.zsh,可以先去复制这个文件,
source /Users/houyunfei/tools/on-my-zsh-beautification/zsh-syntax-highlighting/zsh-syntax-highlighting.zsh
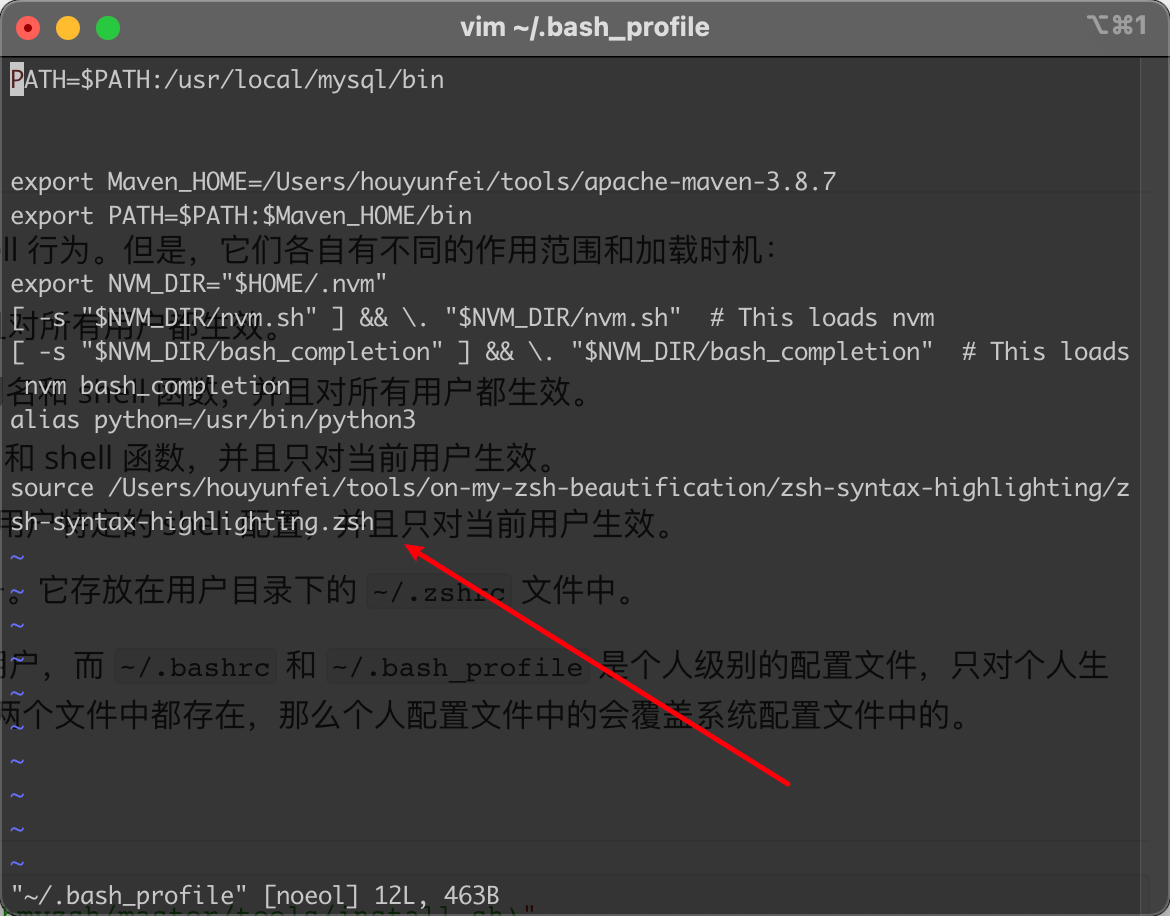
之后就可以看到语法高亮了,
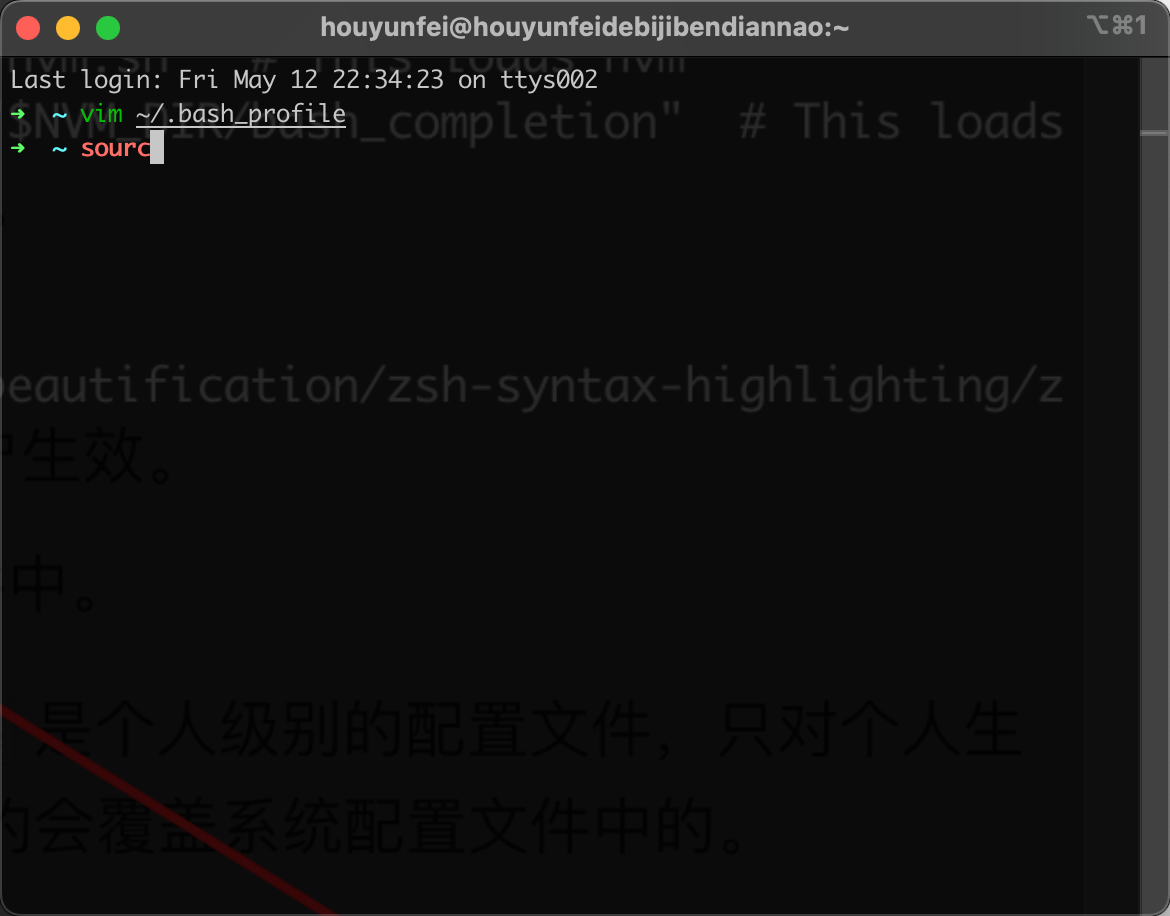
未打完的source,显示红色
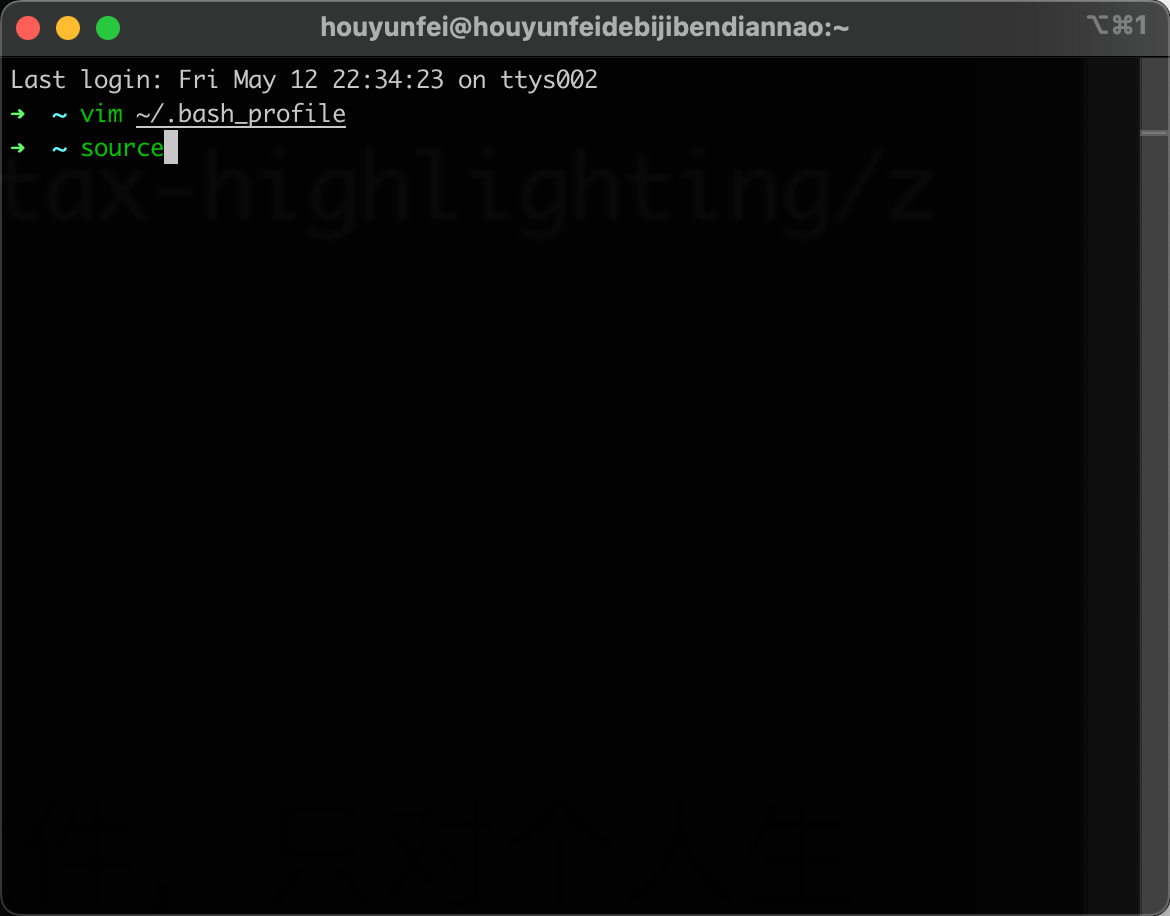
打完的source,显示绿色,同时后面的文件可以按住command打开
安装命令自动补全插件
git clone https://github.com/zsh-users/zsh-autosuggestions
接着配置环境变量,跟上面一样
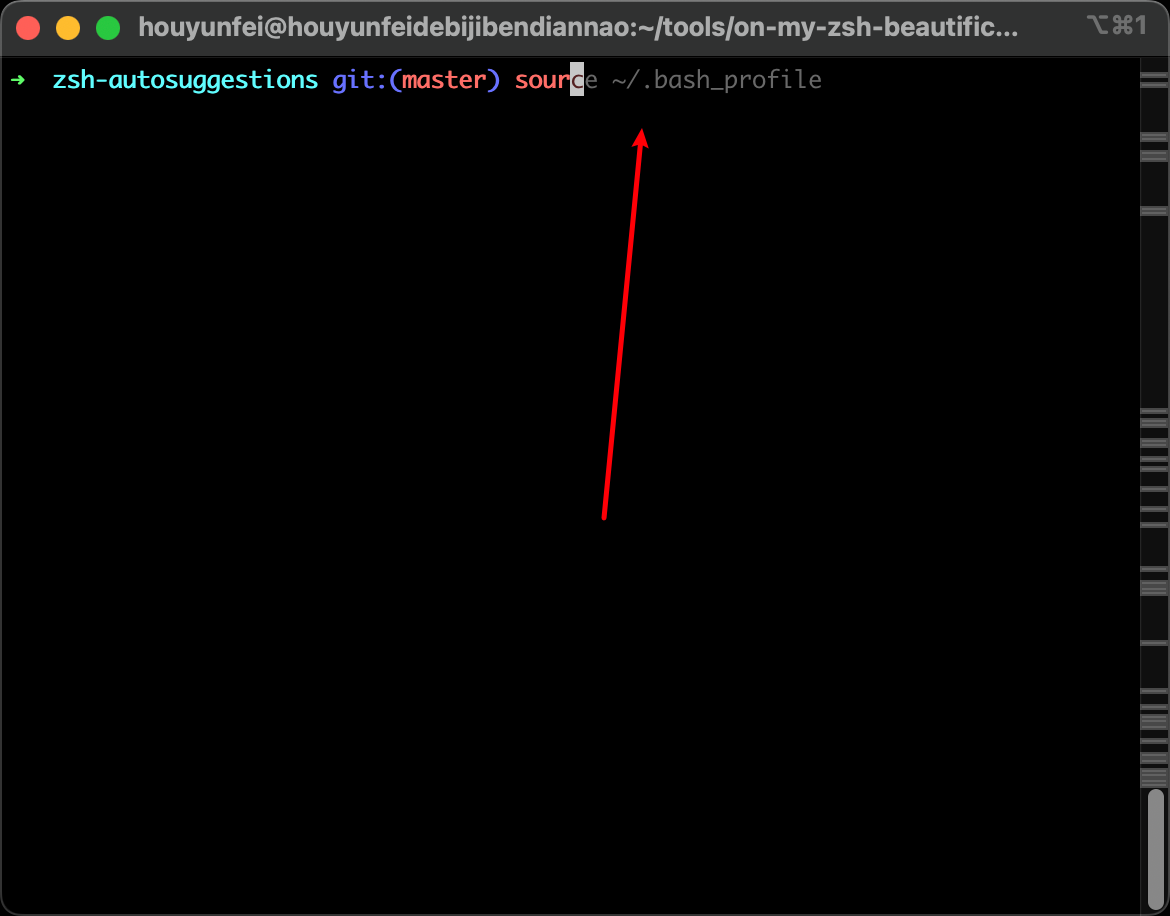
安装好之后,就可以看到终端会猜测你接下来要使用的命令了
可能遇到的问题
可能遇到的问题:
- 如果
chsh: command not found
那就安装:yum install util-linux-user
- shopt找不到
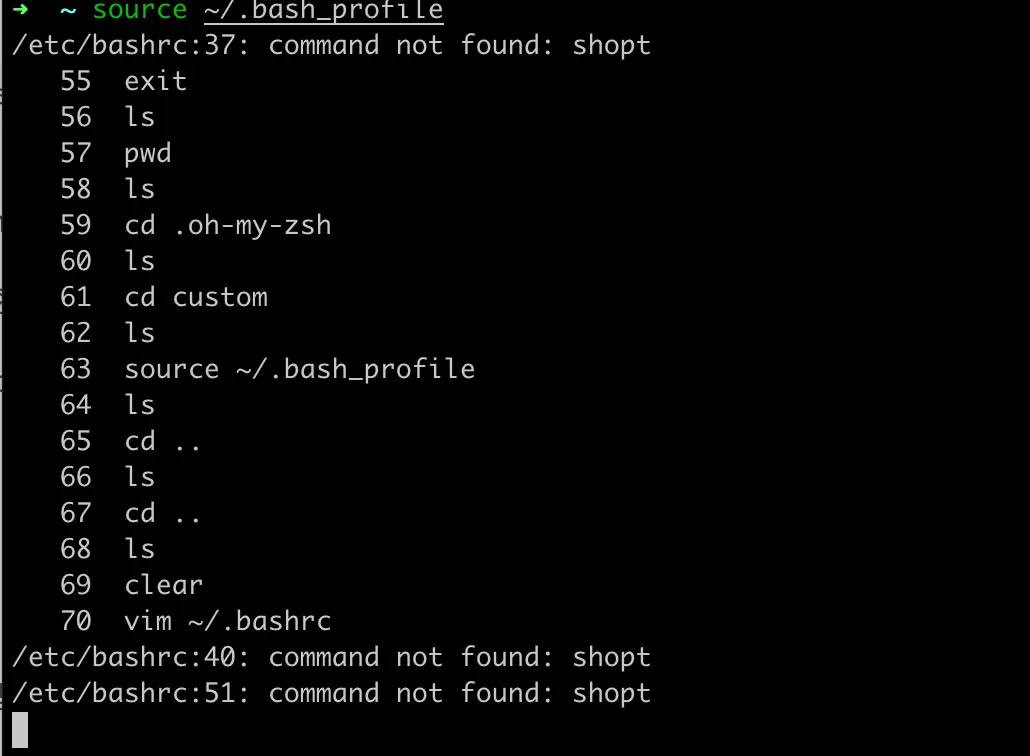
解决办法:
将~/.bashrc文件中的
if [ -f /etc/bashrc ]; then
        . /etc/bashrc
fi
替换为:
if [ -f /etc/bashrc ]; then
        bash -c ". /etc/bashrc"
fi
会存在环境变量丢失的问题:https://blog.csdn.net/xinghen1993/article/details/103695150
##其他美化
powerline
  pip install powerline-status --user

  # clone
git clone https://github.com/powerline/fonts.git --depth=1
# install
cd fonts
./install.sh
# clean-up a bit
cd ..
rm -rf fonts
Tmux
Tmuxs 是一款优秀的终端复用工具,使用它最直观的好处就是,通过一个终端登录远程主机并运行tmux后,在其中可以开启多个控制台而无需再“浪费”多余的终端来连接这台远程主机;
Macos安装
brew install tmux
centos安装:
yum install -y tmux
常用命令
#启动新session:
$ tmux [new -s 会话名 -n 窗口名]

#恢复session:
$ tmux at [-t 会话名]

#列出所有sessions:
$ tmux ls

#关闭session:
$ tmux kill-session -t 会话名

#关闭整个tmux服务器:
$ tmux kill-server
系统指令
| 前缀 | 指令 | 描述 |
|---|---|---|
| Ctrl+b | ? | 显示快捷键帮助文档 |
| Ctrl+b | d | 断开当前会话 |
| Ctrl+b | D | 选择要断开的会话 |
| Ctrl+b | Ctrl+z | 挂起当前会话 |
| Ctrl+b | r | 强制重载当前会话 |
| Ctrl+b | s | 显示会话列表用于选择并切换 |
| Ctrl+b | : | 进入命令行模式,此时可直接输入 ls 等命令 |
| Ctrl+b | [ | 进入复制模式,按 q 退出 |
| Ctrl+b | ] | 粘贴复制模式中复制的文本 |
| Ctrl+b | ~ | 列出提示信息缓存 |
窗口(window)
| 前缀 | 指令 | 描述 |
|---|---|---|
| Ctrl+b | c | 新建窗口 |
| Ctrl+b | & | 关闭当前窗口 |
| Ctrl+b | 0~9 | 切换到指定窗口 |
| Ctrl+b | p | 切换到上一窗口 |
| Ctrl+b | n | 切换到下一窗口 |
| Ctrl+b | w | 打开窗口列表,用于且切换窗口 |
| Ctrl+b | , | 重命名当前窗口 |
| Ctrl+b | . | 修改当前窗口编号(适用于窗口重新排序) |
| Ctrl+b | f | 快速定位到窗口(输入关键字匹配窗口名称) |
面板(pane)指令:
| 前缀 | 指令 | 描述 |
|---|---|---|
| Ctrl+b | " | 当前面板上下一分为二,下侧新建面板 |
| Ctrl+b | % | 当前面板左右一分为二,右侧新建面板 |
| Ctrl+b | x | 关闭当前面板(关闭前需输入 y or n 确认) |
| Ctrl+b | z | 最大化当前面板,再重复一次按键后恢复正常(v1.8 版本新增) |
| Ctrl+b | ! | 将当前面板移动到新的窗口打开(原窗口中存在两个及以上面板有效) |
| Ctrl+b | ; | 切换到最后一次使用的面板 |
| Ctrl+b | q | 显示面板编号,在编号消失前输入对应的数字可切换到相应的面板 |
| Ctrl+b | { | 向前置换当前面板 |
| Ctrl+b | } | 向后置换当前面板 |
| Ctrl+b | Ctrl+o | 顺时针旋转当前窗口中的所有面板 |
| Ctrl+b | 方向键 | 移动光标切换面板 |
| Ctrl+b | o | 选择下一面板 |
| Ctrl+b | 空格键 | 在自带的面板布局中循环切换 |
| Ctrl+b | Alt + 方向键 | 以 5 个单元格为单位调整当前面板边缘 |
| Ctrl+b | Ctrl + 方向键 | 以 1 个单元格为单位调整当前面板边缘(Mac 下 |
| Ctrl+b | t | 显示时钟 |
https://www.cnblogs.com/zuoruining/p/11074367.html
重新加载配置:Control+b+shift+i
tpm插件
https://github.com/tmux-plugins/tpm
下载:
git clone https://github.com/tmux-plugins/tpm ~/.tmux/plugins/tpm
编辑:~/.tmux.conf
# List of plugins
set -g @plugin 'tmux-plugins/tpm'
set -g @plugin 'tmux-plugins/tmux-sensible'

# Other examples:
# set -g @plugin 'github_username/plugin_name'
# set -g @plugin 'github_username/plugin_name#branch'
# set -g @plugin 'git@github.com:user/plugin'
# set -g @plugin 'git@bitbucket.com:user/plugin'

# Initialize TMUX plugin manager (keep this line at the very bottom of tmux.conf)
run '~/.tmux/plugins/tpm/tpm'
重新加载:
# type this in terminal if tmux is already running
tmux source ~/.tmux.conf
进入tmux
tmux
看是否安装成功:
Ctrl+b+Shift+i
德古拉主题dracula
https://github.com/dracula/tmux
set -g @plugin 'dracula/tmux'
效果:

保存恢复
set -g @plugin 'tmux-plugins/tmux-resurrect'
set -g @plugin 'tmux-plugins/tmux-continuum'
tmux功能
https://www.ruanyifeng.com/blog/2019/10/tmux.html
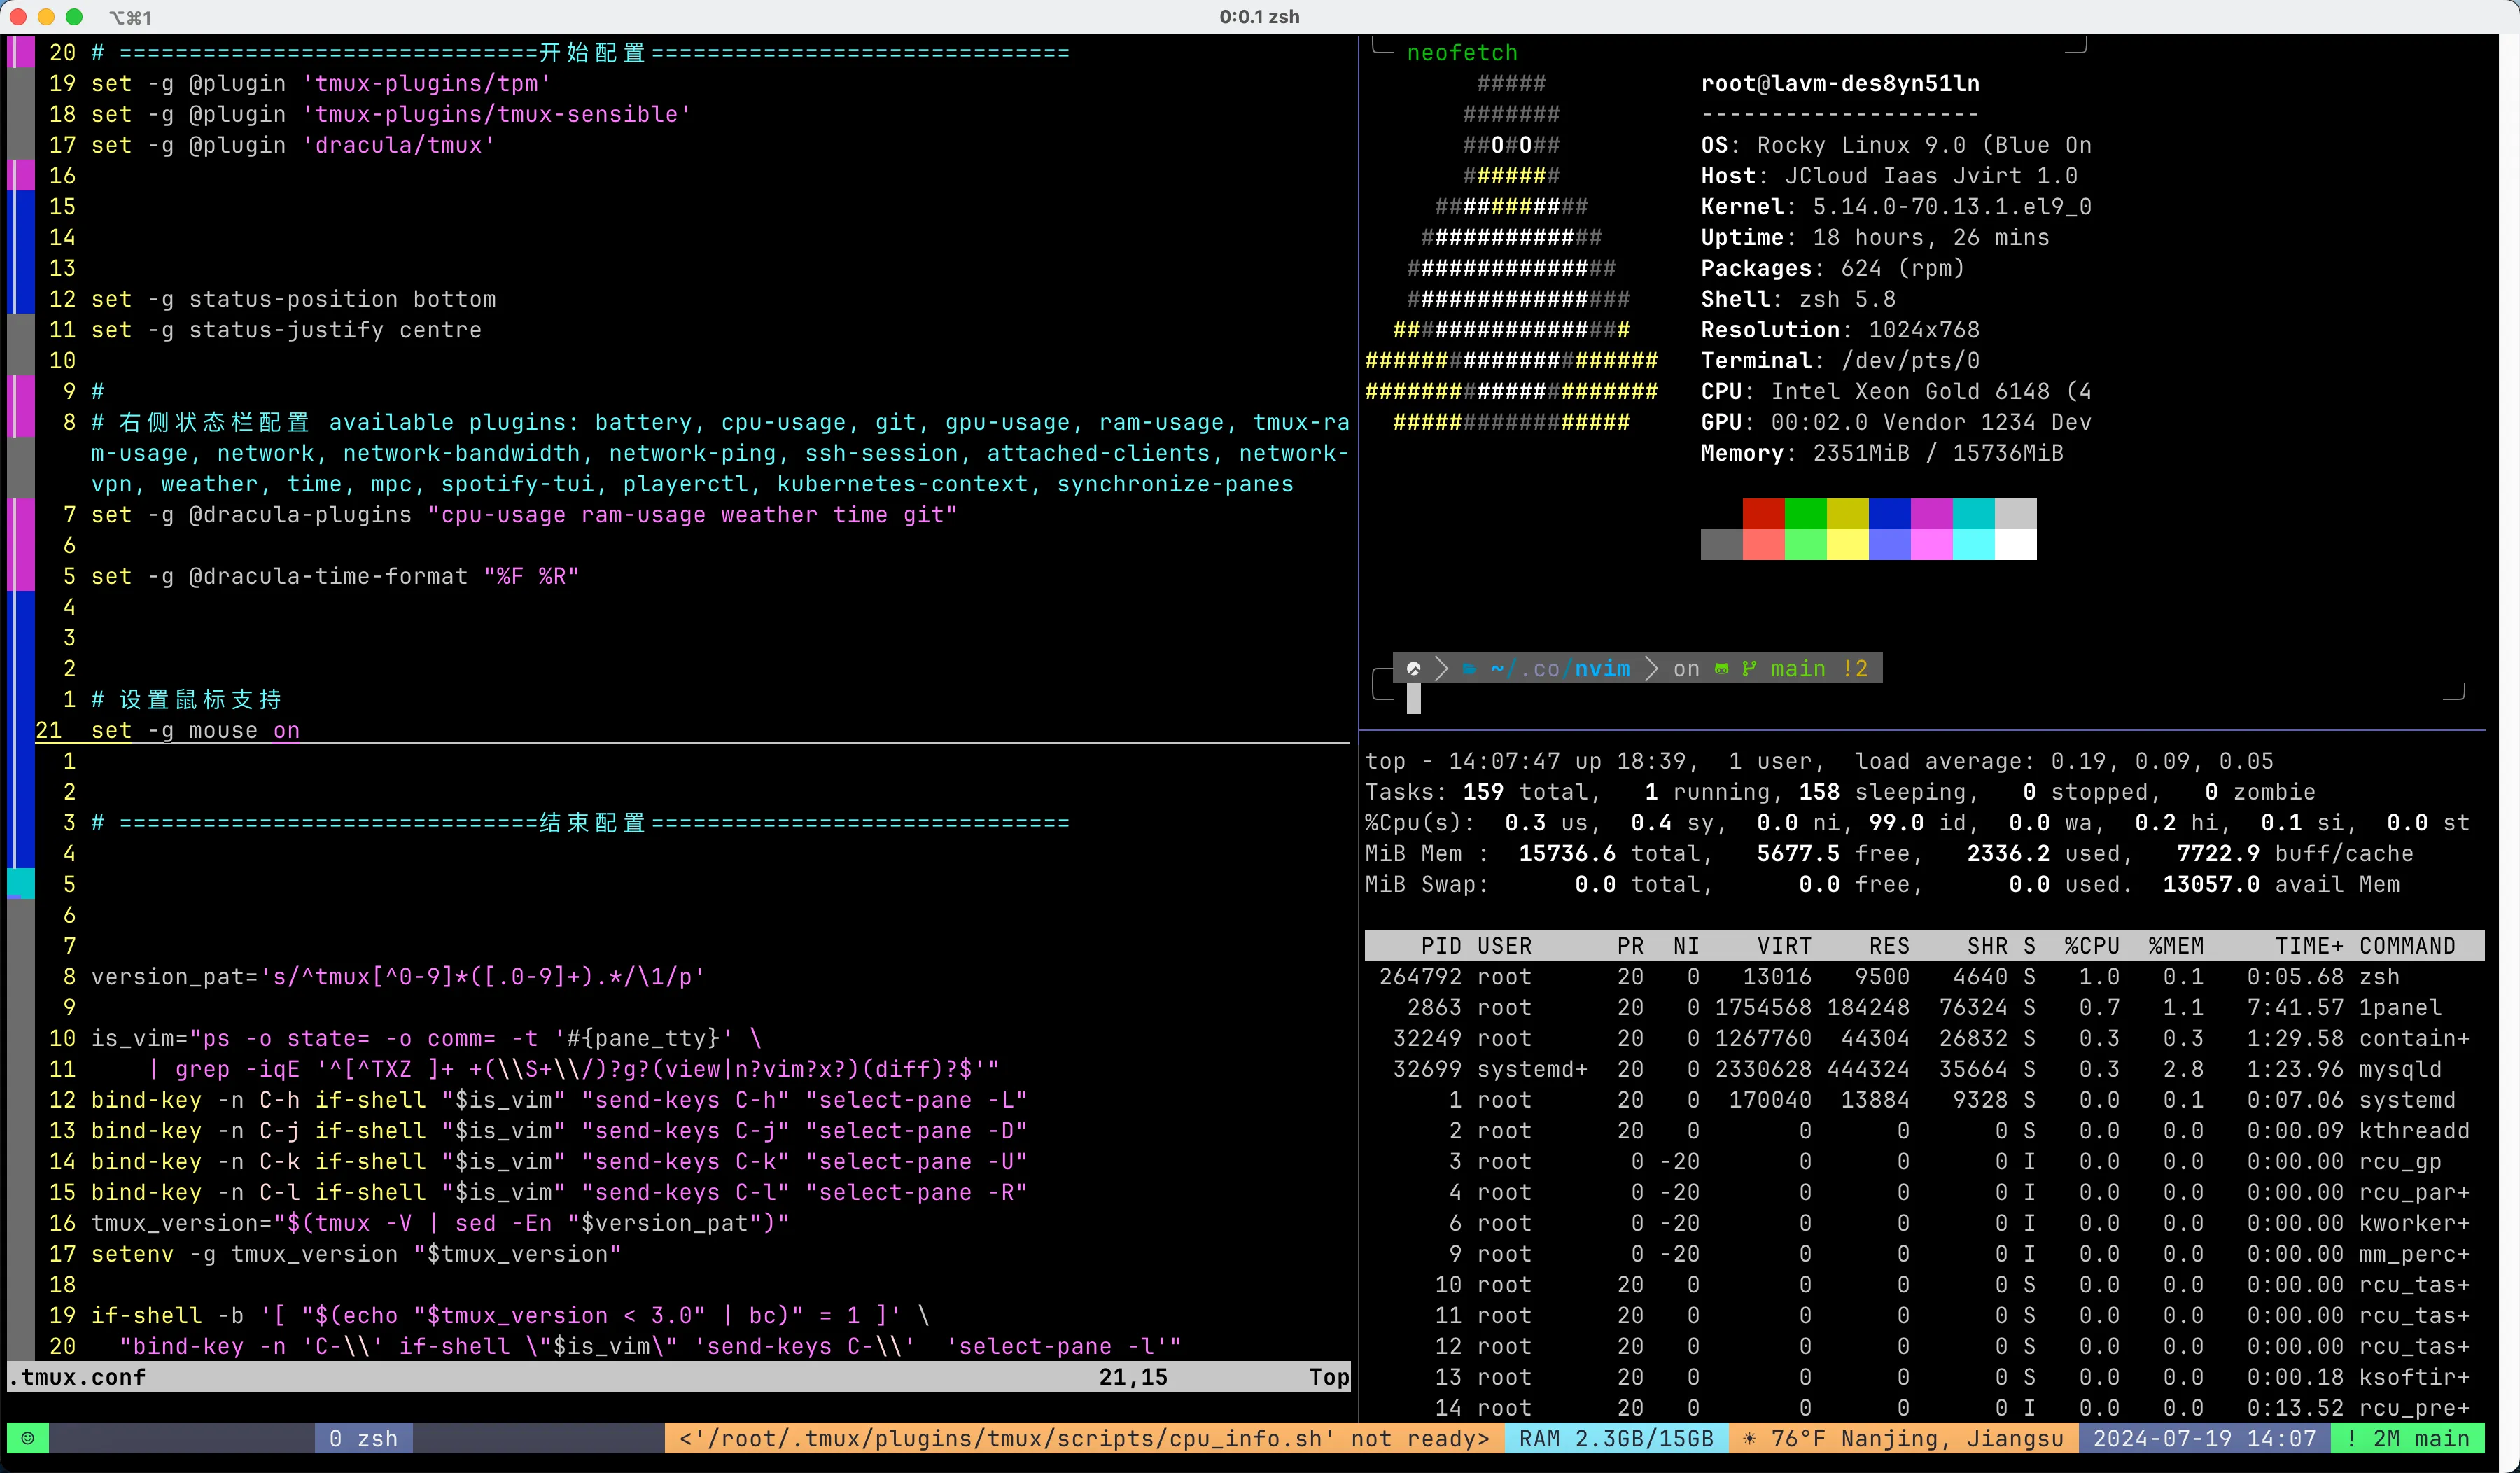
启动,启动之后下方,左侧是窗口信息(编号+名称,右侧是系统信息):
tmux
可以新建一个session,其中包含一个window,该window中包含一个pane,pane里打开了一个shell对话框。
退出这个session:
Ctrl + b d
运行后并不会真正关闭session,而是将session挂起,在tmux session里面的程序还是会在后台继续运行。
查看拥有的session: tmux list-sessions

重新连到刚才的session:
tmux attach
tmux a
连接到特定的session:
tmux attach -t [session_name]
tmux a -t [session_name]
对会话进行改名:

目前我有两个会话0和2
- 在会话中:
ctrl+b+$ - 在terminal中:
tmux rename-session -t 0 [session_name]
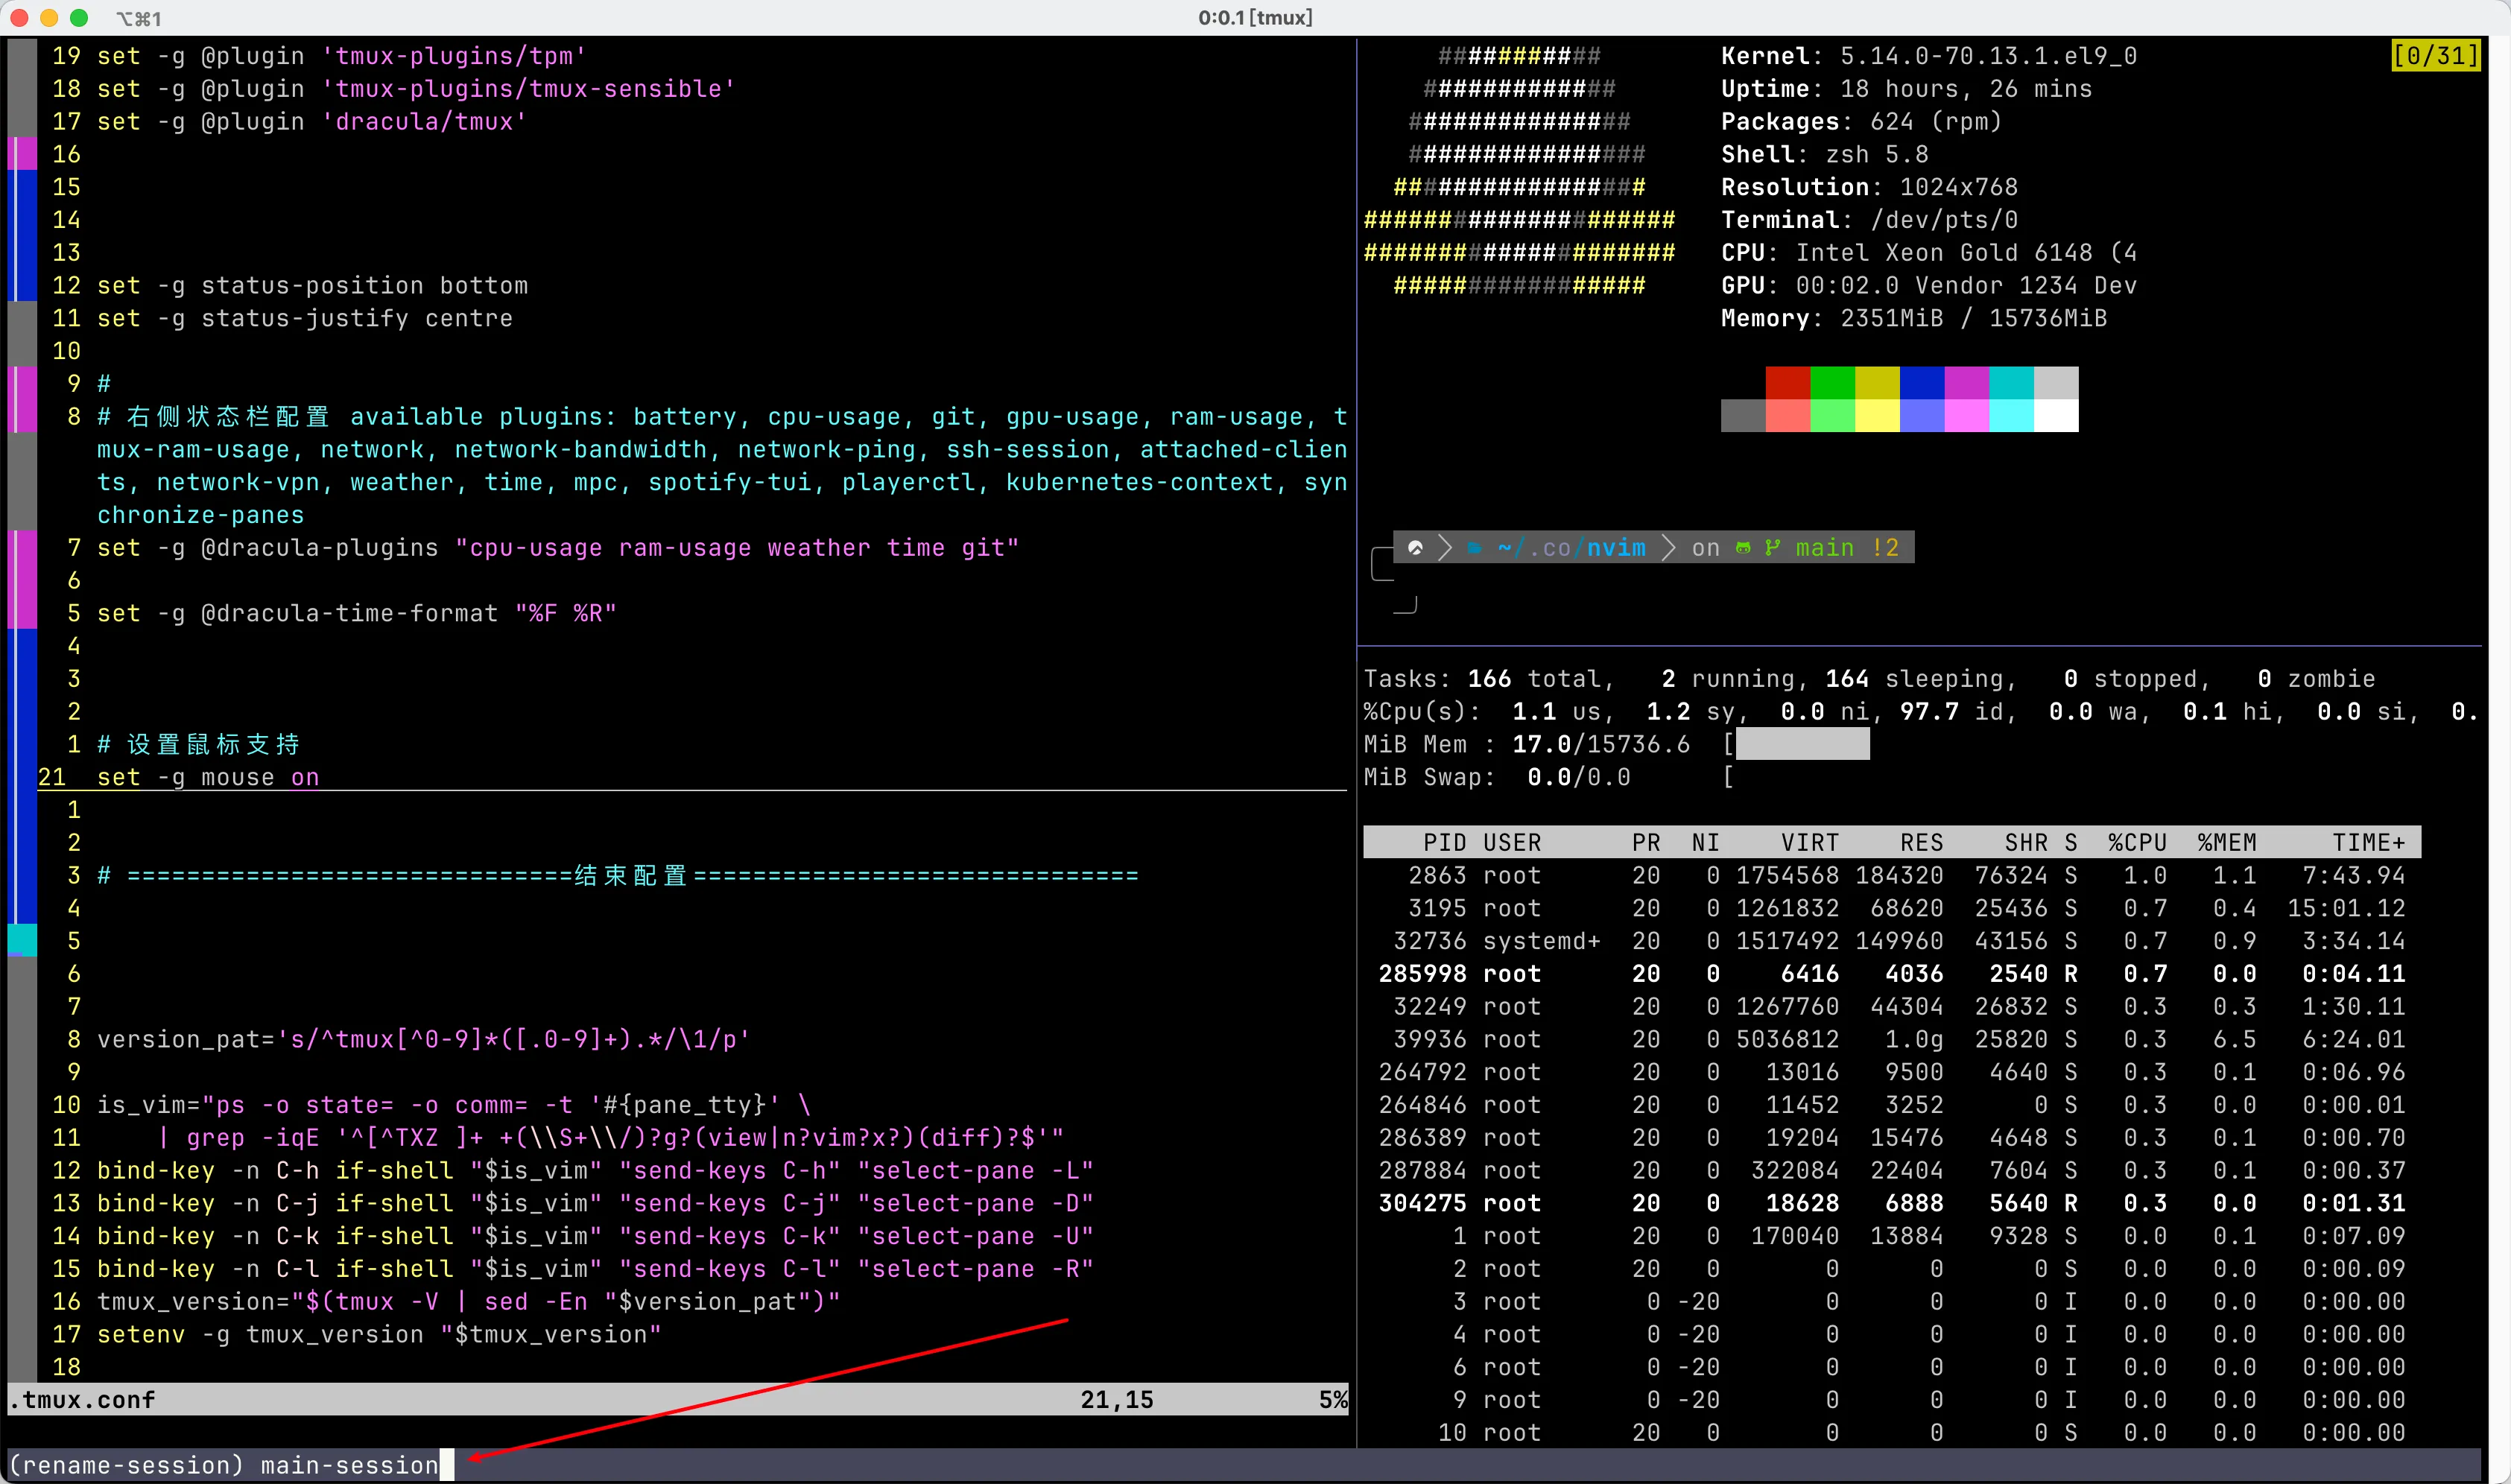

可视化选择session:ctrl+b+s
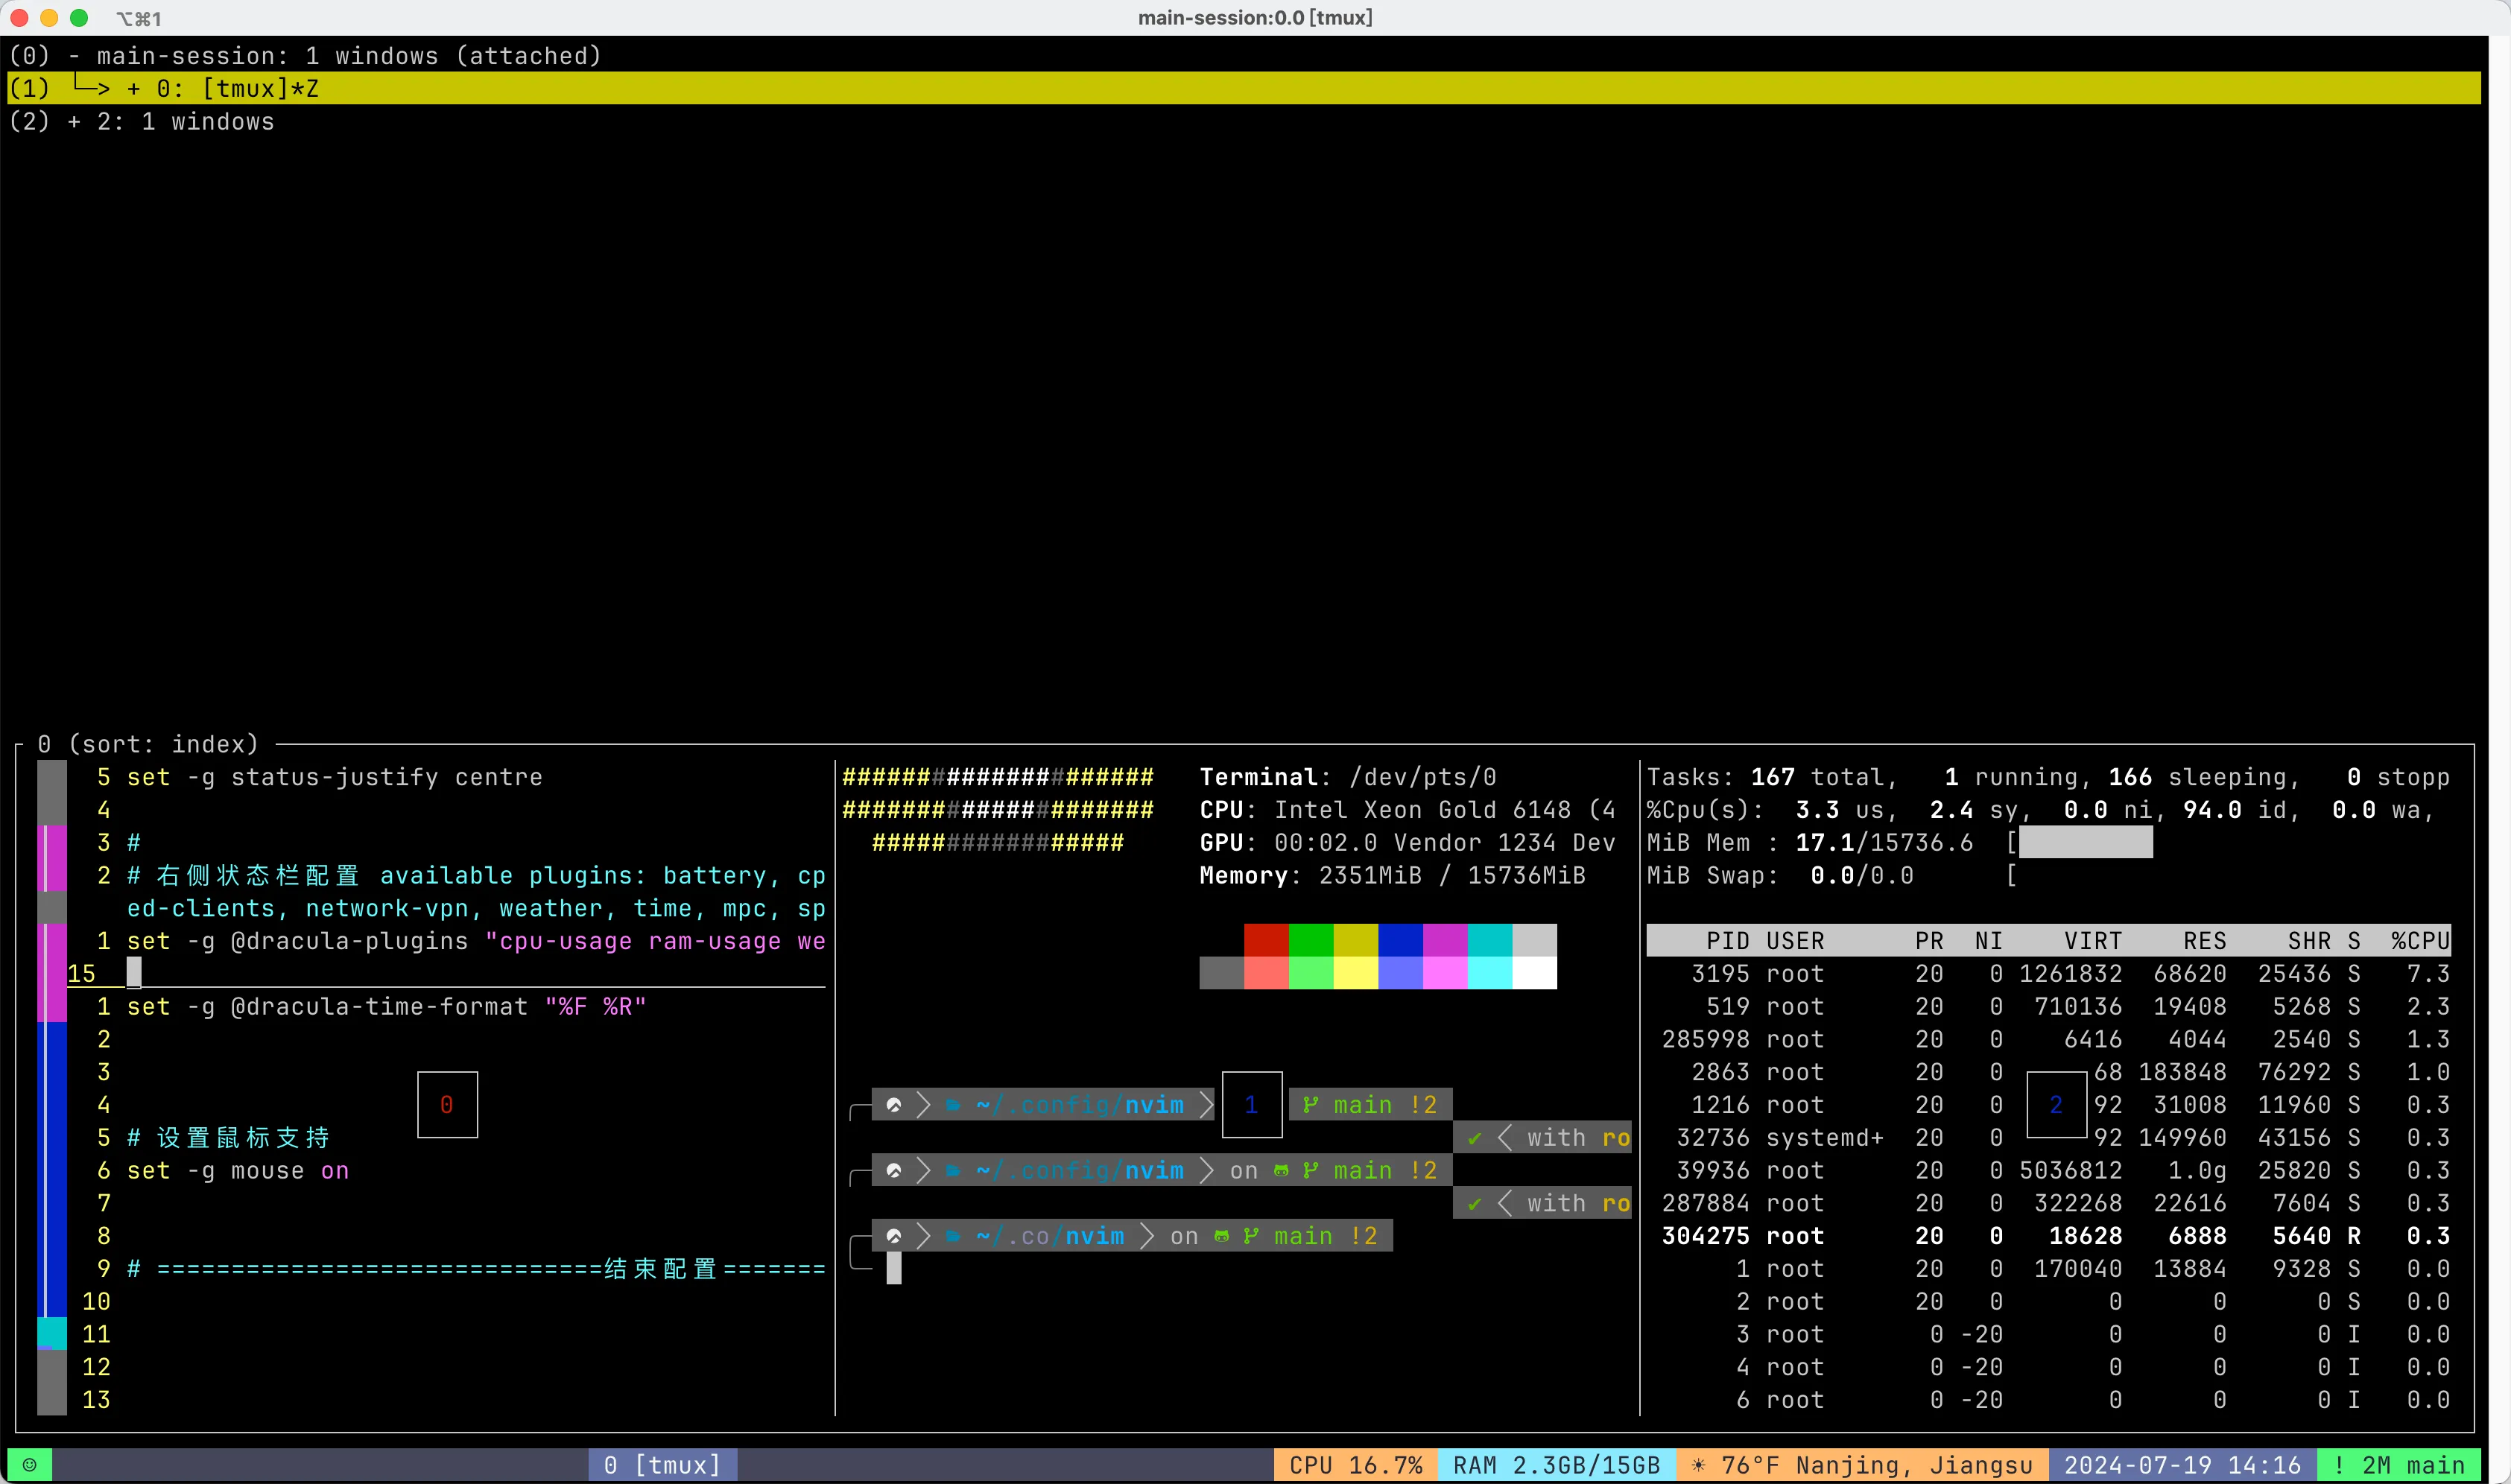
关闭会话:tmux kill-session -t [session_name]
一个会话中切分多个panel:
- 向右:
ctrl+b+% - 向下:
ctrl+b+" - 移动:
ctrl+b+方向
登录shell自动启动tmux:
可以在.zshrc中加入如下命令
if [ -z "$TMUX" ]; then
	tmux attach -t default || tmux new -s default
fi
NeoFetch
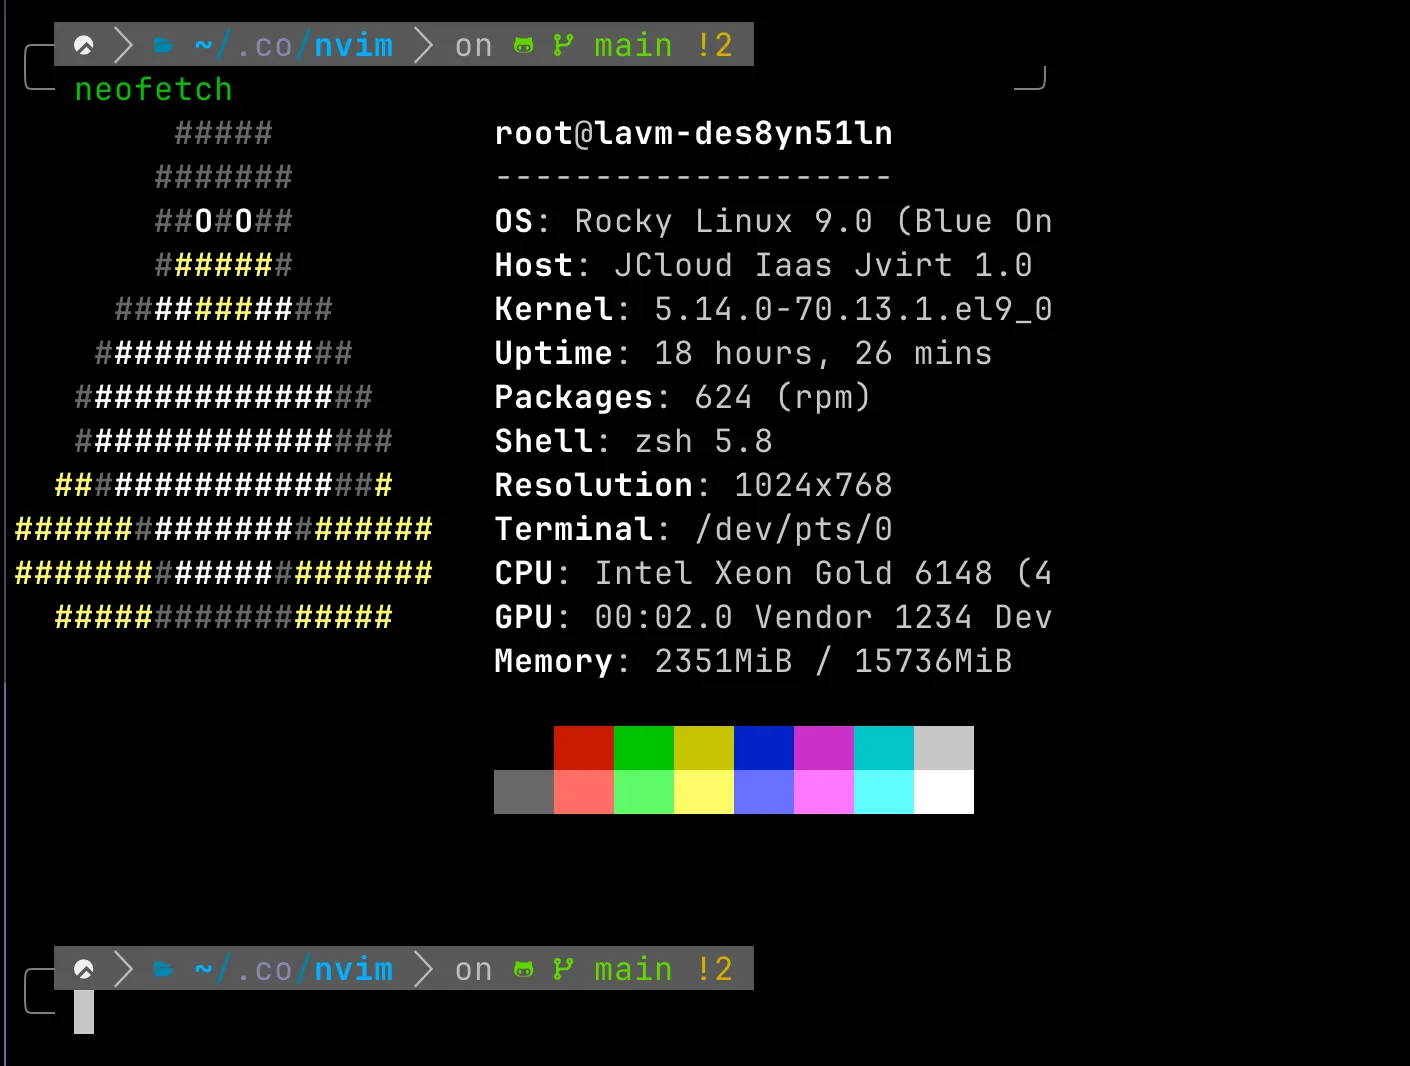
yum install neofetch
Btop
https://github.com/aristocratos/btop
安装
yum install btop
效果:

常用快捷键:
m:打开选项参数
o:进入窗口颜色、数据刷新频率等相关配置
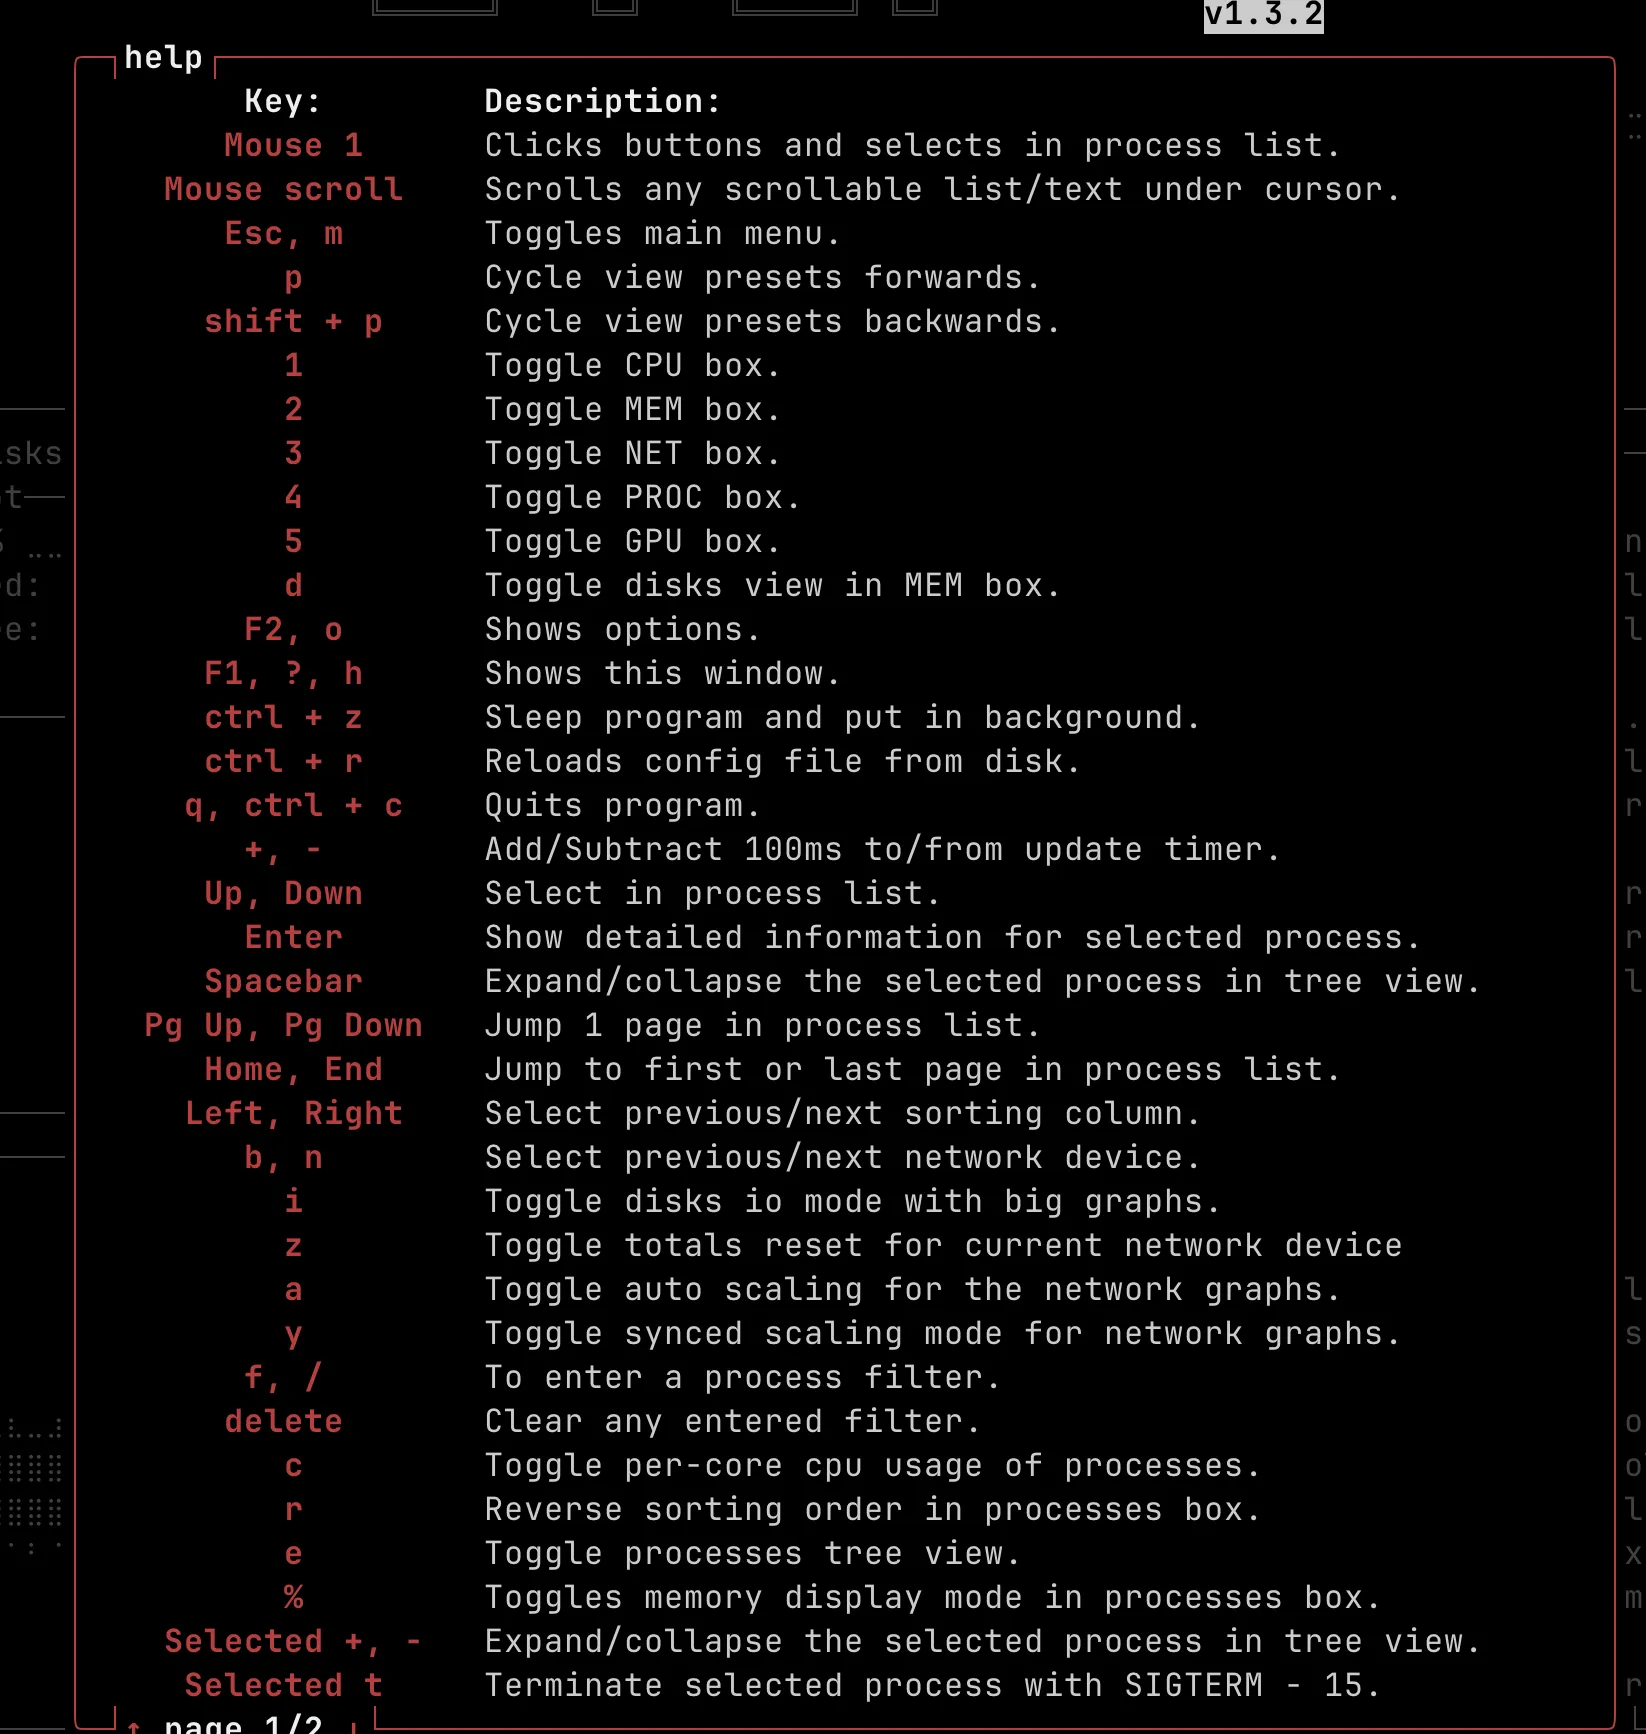
h:打开帮助
ctrl + z:停止进程
ctrl + c、q:退出
- :减少页面数据刷新间隔,默认 2s 秒
+:增加页面数据刷新间隔
f,/:开启进程搜索模式,输入搜索关键词,可以搜索进程
