neovim配置
参考资料:
https://martinlwx.github.io/zh-cn/config-neovim-from-scratch/
https://github.com/xiantang/Neovim-from-scratch/tree/main/lua/plugins
安装NeoVim
尽量用高版本的
教程:https://www.mintimate.cn/2023/01/10/guideForLunarvim/
centos7安装nvim:
wget https://github.com/neovim/neovim/releases/download/v0.9.5/nvim-linux64.tar.gz
解压,然后链接:
/root/tools/nvim-linux64/bin/nvim这是我的位置
ln -s /root/tools/nvim-linux64/bin/nvim /bin/nvim
MacOS安装:
brew install neovim源码安装然后链接:
sudo ln -s /Users/houyunfei/tools/nvim-macos/bin/nvim /usr/local/bin/nvim
Lua脚本教程:https://learnxinyminutes.com/docs/lua/
Nvim的配置目录在~/.config/nvim下,默认会读取~/.config/nvim/init.lua脚本
配置
基本配置
在init.lua中加一行require('options')
在~/.config/nvim/lua中建文件:options.lua,具��体内容如下:
vim基本配置,行号之类的:
local set=vim.o
set.number=true
set.number = true
set.encoding = "UTF-8"
set.relativenumber = true --相对行号
set.cursorline=true --高亮所在行
set.clipboard = "unnamed" -- 为了和系统剪切板一致
set.mouse='a' --所有模式下都可以使用鼠标
-- tab
set.tabstop=4 -- 这个选项设置 Tab 键在视觉上占用的空格数�。
set.softtabstop=4 --这个选项设置编辑时 Tab 键插入的空格数。
set.shiftwidth=4 --这个选项设置自动缩进时使用的空格数。
set.expandtab=4 --这个选项将 Tab 键替换为相等数量的空格
--search
set.incsearch=true --输入关键字的时候就开始搜索
set.ignorecase=true -- 搜索时候忽略大小写
set.smartcase=true --搜索时,如果包含大写字母,则区分大小写。
-- 在 copy 后高亮
vim.api.nvim_create_autocmd({ "TextYankPost" }, {
pattern = { "*" },
callback = function()
vim.highlight.on_yank({
timeout = 300,
})
end,
})
按键映射
在init.lua中加一行require('keymaps')
在~/.config/nvim/lua中建文件:keymaps.lua,具体内容如下:
-- keybindings
local opt={
    noremap=true,  --不会递归映射
    silent=true --不显示消息
}

vim.g.mapleader=" " --leader键为空格,每次使用先按空格

-- 参数说明:1.mode:模式,n表示normal 2.Ihs 要映射的键 3.rhs映射到的目标键 4.opts 选项
-- 也就是将第三个参数的快捷键变成第二个参数要变成的 <C-w> 表示Ctrl+w
--
vim.keymap.set("n", "<C-l>", "<C-w>l", opt)     -- ctrl+w+l --> 替换为ctrl+l ,移动到右侧的屏幕
vim.keymap.set("n", "<C-h>", "<C-w>h", opt)     -- ctrl+w+h --> 替换为ctrl+h ,移动到右侧的屏幕
vim.keymap.set("n", "<C-j>", "<C-w>j", opt)     -- ctrl+w+j --> 替换为ctrl+j ,移动到下侧的屏幕
vim.keymap.set("n", "<C-k>", "<C-w>k", opt)     -- ctrl+w+k --> 替换为ctrl+k ,移动到上侧的屏幕

vim.keymap.set("n","<Leader>v","<C-w>v",opt) --在当前窗口垂直分割新窗口
vim.keymap.set("n","<Leader>s","<C-w>s",opt) --在当前窗口水平分割新窗口
vim.keymap.set("n","<Leader>[","<C-w>o",opt) --跳转到上一个位置
vim.keymap.set("n","<Leader>]","<C-w>i",opt) --跳转到下一个位置

-- Resize with arrows
-- delta: 2 lines
--vim.keymap.set('n', '<C-Up>', ':resize -2<CR>', opts) --缩小
--vim.keymap.set('n', '<C-Down>', ':resize +2<CR>', opts)
--vim.keymap.set('n', '<C-Left>', ':vertical resize -2<CR>', opts)
--vim.keymap.set('n', '<C-Right>', ':vertical resize +2<CR>', opts)

-- https://www.reddit.com/r/vim/comments/2k4cbr/problem_with_gj_and_gk/
-- 如果有计数前缀,则移动物理行;如果没有计数前缀,则移动屏幕行。这可以提高在长行文本中的导航体验。
vim.keymap.set("n", "j", [[v:count ? 'j' : 'gj']], { noremap = true, expr = true })
vim.keymap.set("n", "k", [[v:count ? 'k' : 'gk']], { noremap = true, expr = true })
插件安装
LazyVim-插件管理
LazyVim 是一个基于 Neovim 的配置框架,旨在为用户提供一个简单、快速、高度可定制的 Vim/Neovim 编辑器体验。它内置了丰富的插件集合,包括插件管理、键位映射、主题等基础功能,可以作为用户自己 Neovim 配置的良好起点。LazyVim 的特点是启动和响应速度快,配置结构简单易用,同时也支持高度的自定义,让用户能够根据自己的需求进行个性化设置,是一个非常出色的 Neovim 配置框架。
https://github.com/LazyVim/LazyVim
在init.lua中加一行require('plugins')
在~/.config/nvim/lua中建文件:plugins,具体内容如下:
require("plugins")
安装lazyVim:
编辑plugins.lua
local lazypath = vim.fn.stdpath("data") .. "/lazy/lazy.nvim"
if not (vim.uv or vim.loop).fs_stat(lazypath) then
  local lazyrepo = "https://github.com/folke/lazy.nvim.git"
  local out = vim.fn.system({ "git", "clone", "--filter=blob:none", "--branch=stable", lazyrepo, lazypath })
  if vim.v.shell_error ~= 0 then
    vim.api.nvim_echo({
      { "Failed to clone lazy.nvim:\n", "ErrorMsg" },
      { out, "WarningMsg" },
      { "\nPress any key to exit..." },
    }, true, {})
    vim.fn.getchar()
    os.exit(1)
  end
end
vim.opt.rtp:prepend(lazypath)

require("lazy").setup({})
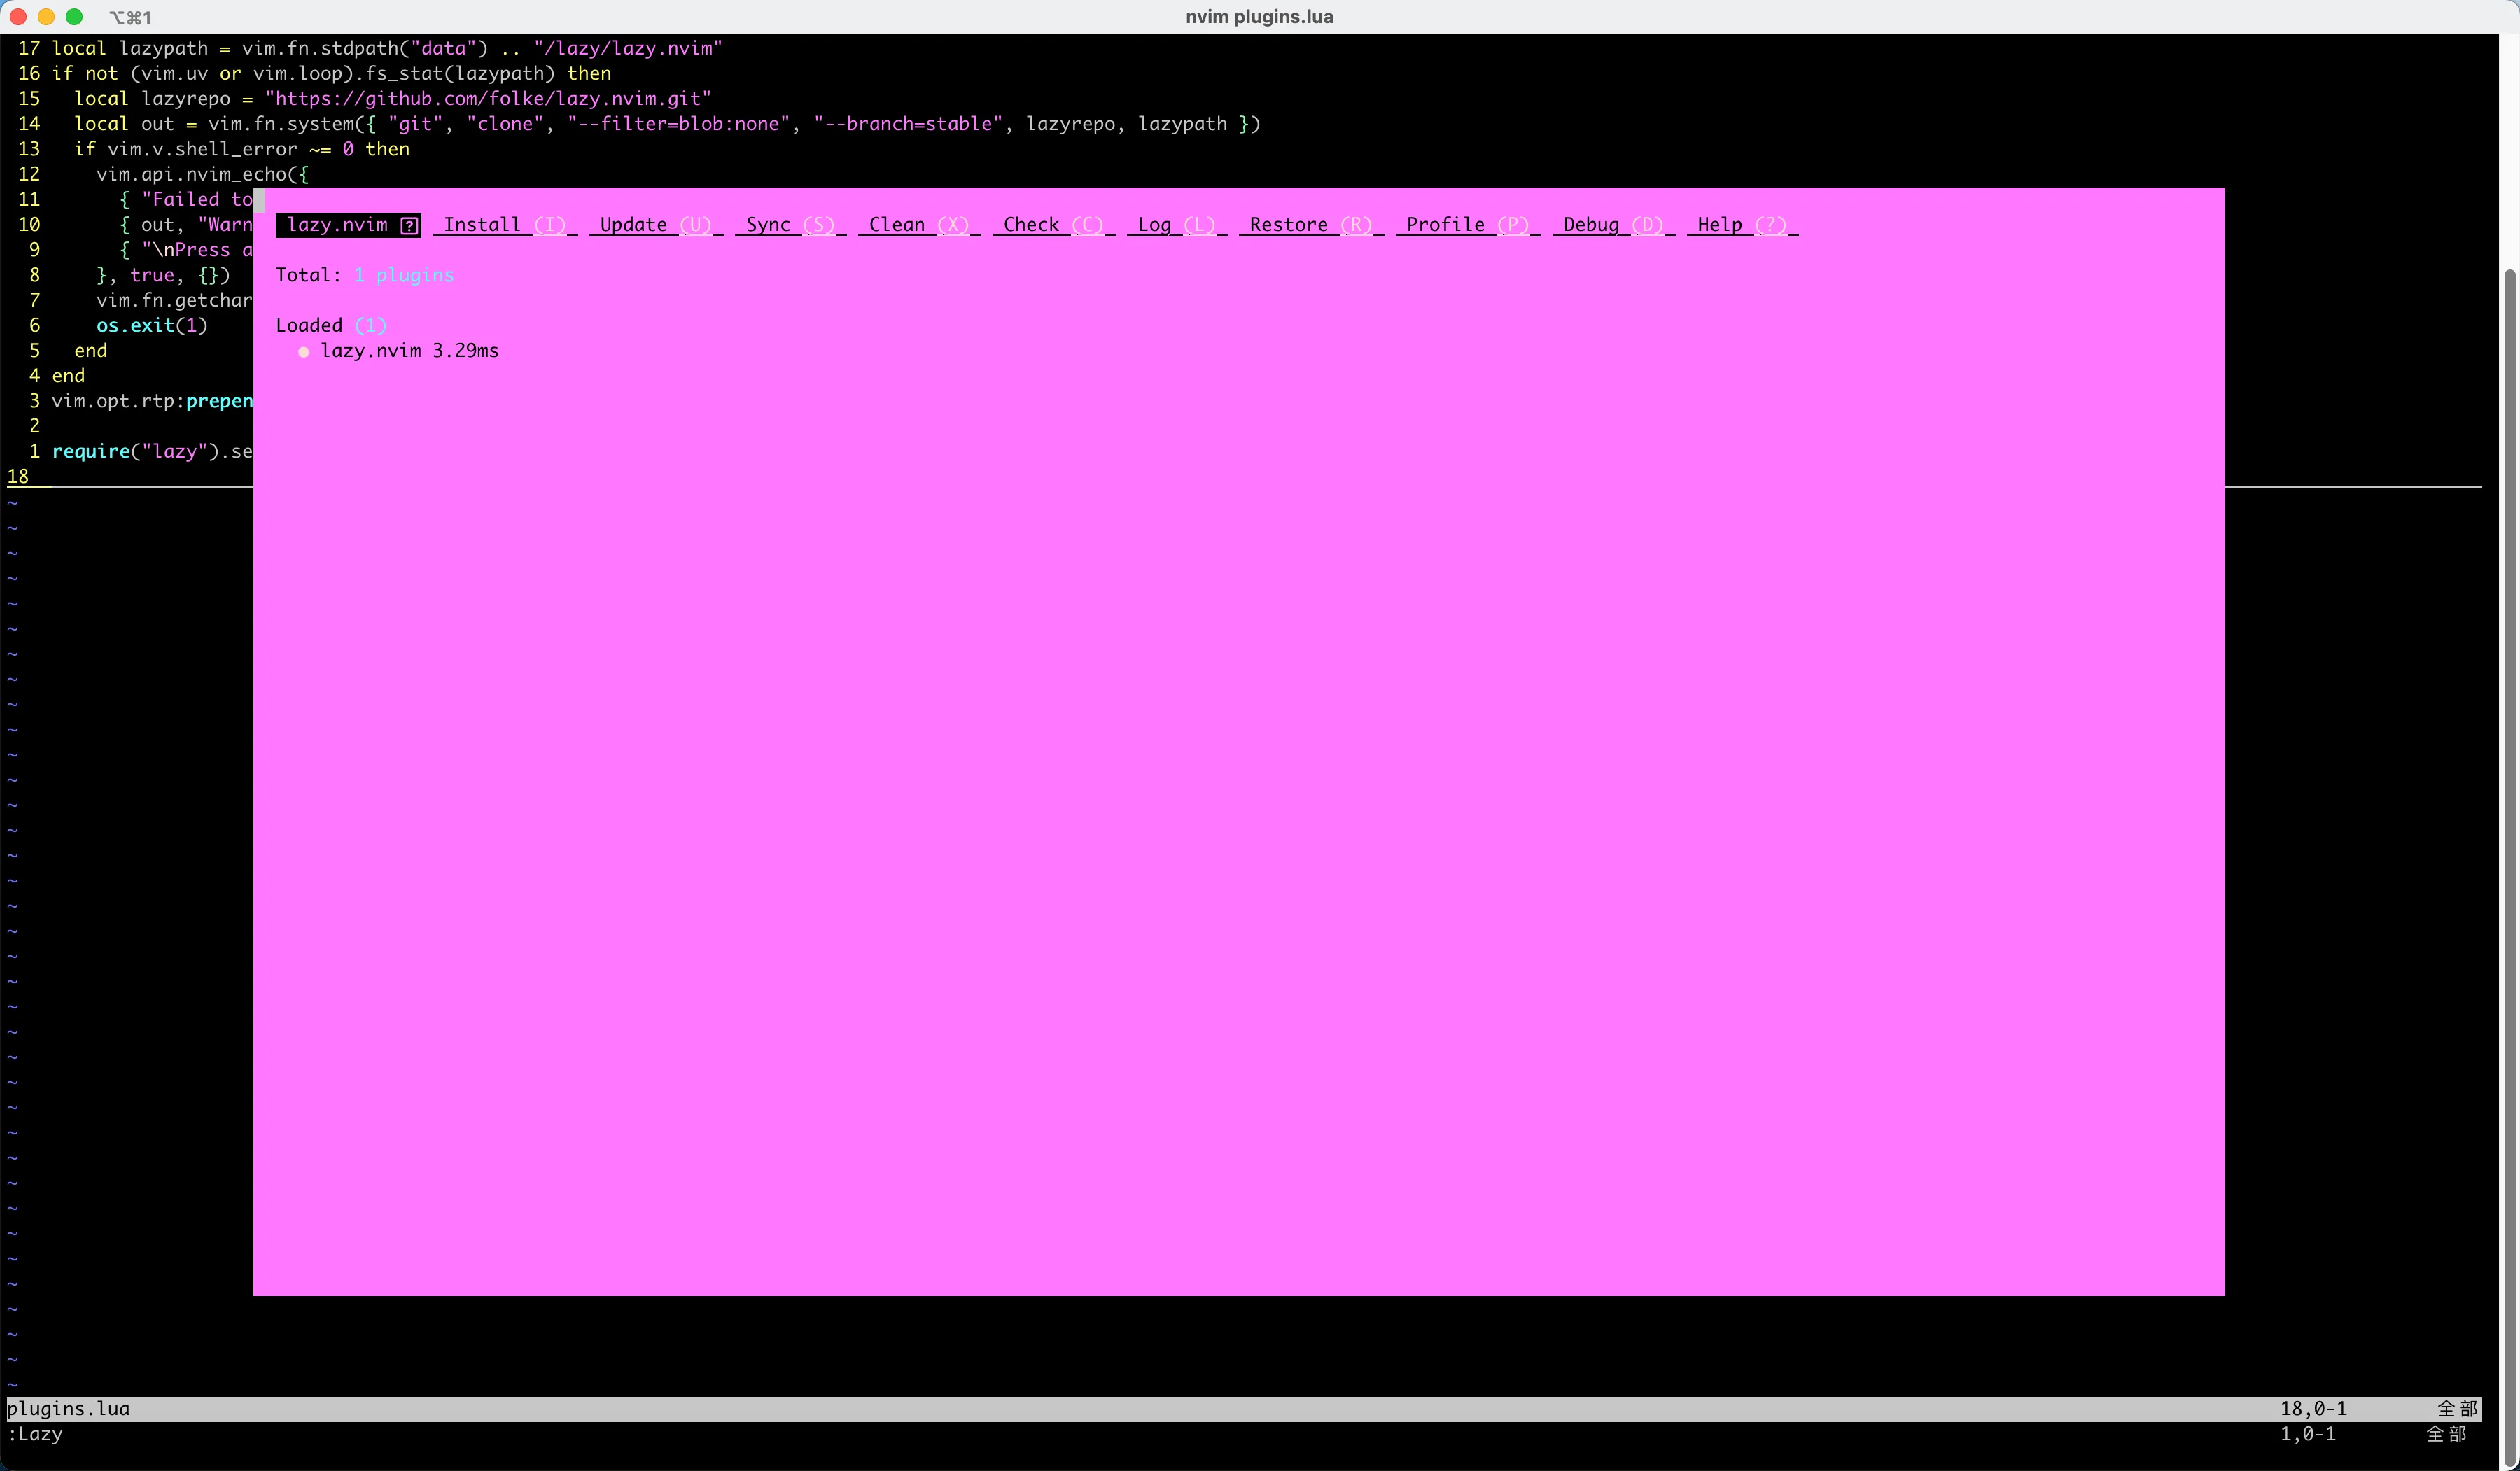
现在只是安装了LazyVim插件,后续会使用LazyVim安装其他插件,插件都放在require("lazy").setup({})中
查看安装效果:在命令模式输入::Lazy
nvim-cmp 自动补全
github :https://github.com/hrsh7th/nvim-cmp
wiki安装:https://github.com/hrsh7th/nvim-cmp/wiki/Example-mappings
在nvim/init.lua中编写:
require("plugins")
在nvim/lua/plugins.lua文件中编写
local lazypath = vim.fn.stdpath("data") .. "/lazy/lazy.nvim"
if not (vim.uv or vim.loop).fs_stat(lazypath) then
  local lazyrepo = "https://github.com/folke/lazy.nvim.git"
  local out = vim.fn.system({ "git", "clone", "--filter=blob:none", "--branch=stable", lazyrepo, lazypath })
  if vim.v.shell_error ~= 0 then
    vim.api.nvim_echo({
      { "Failed to clone lazy.nvim:\n", "ErrorMsg" },
      { out, "WarningMsg" },
      { "\nPress any key to exit..." },
    }, true, {})
    vim.fn.getchar()
    os.exit(1)
  end
end
vim.opt.rtp:prepend(lazypath)
require("lazy").setup({
	-- Vscode-like pictograms
	{
		"onsails/lspkind.nvim",
		event = { "VimEnter" },
	},
	-- Auto-completion engine
	{
		"hrsh7th/nvim-cmp",
		dependencies = {
			"lspkind.nvim",
			"hrsh7th/cmp-nvim-lsp", -- lsp auto-completion
			"hrsh7th/cmp-buffer", -- buffer auto-completion
			"hrsh7th/cmp-path", -- path auto-completion
			"hrsh7th/cmp-cmdline", -- cmdline auto-completion
		},
		config = function()
			require("config.nvim-cmp")
		end,
	},
	-- Code snippet engine
	{
		"L3MON4D3/LuaSnip",
		version = "v2.*",
	},
})
在nvim/lua/config/nvim-cmp.lua中:
local has_words_before = function()
    unpack = unpack or table.unpack
    local line, col = unpack(vim.api.nvim_win_get_cursor(0))
    return col ~= 0 and vim.api.nvim_buf_get_lines(0, line - 1, line, true)[1]:sub(col, col):match("%s") == nil
end

local luasnip = require("luasnip")
local cmp = require("cmp")

cmp.setup({
    snippet = {
        -- REQUIRED - you must specify a snippet engine
        expand = function(args)
            require('luasnip').lsp_expand(args.body) -- For `luasnip` users.
        end,
    },
    mapping = cmp.mapping.preset.insert({
        -- Use <C-b/f> to scroll the docs
        ['<C-b>'] = cmp.mapping.scroll_docs( -4),
        ['<C-f>'] = cmp.mapping.scroll_docs(4),
        -- Use <C-k/j> to switch in items
        ['<C-k>'] = cmp.mapping.select_prev_item(),
        ['<C-j>'] = cmp.mapping.select_next_item(),
        -- Use <CR>(Enter) to confirm selection
        -- Accept currently selected item. Set `select` to `false` to only confirm explicitly selected items.
        ['<CR>'] = cmp.mapping.confirm({ select = true }),

        -- A super tab
        -- sourc: https://github.com/hrsh7th/nvim-cmp/wiki/Example-mappings#luasnip
        ["<Tab>"] = cmp.mapping(function(fallback)
            -- Hint: if the completion menu is visible select next one
            if cmp.visible() then
                cmp.select_next_item()
            elseif has_words_before() then
                cmp.complete()
            else
                fallback()
            end
        end, { "i", "s" }), -- i - insert mode; s - select mode
        ["<S-Tab>"] = cmp.mapping(function(fallback)
            if cmp.visible() then
                cmp.select_prev_item()
            elseif luasnip.jumpable( -1) then
                luasnip.jump( -1)
            else
                fallback()
            end
        end, { "i", "s" }),
    }),

  -- Let's configure the item's appearance
  -- source: https://github.com/hrsh7th/nvim-cmp/wiki/Menu-Appearance
  formatting = {
      -- Set order from left to right
      -- kind: single letter indicating the type of completion
      -- abbr: abbreviation of "word"; when not empty it is used in the menu instead of "word"
      -- menu: extra text for the popup menu, displayed after "word" or "abbr"
      fields = { 'abbr', 'menu' },

      -- customize the appearance of the completion menu
      format = function(entry, vim_item)
          vim_item.menu = ({
              nvim_lsp = '[Lsp]',
              luasnip = '[Luasnip]',
              buffer = '[File]',
              path = '[Path]',
          })[entry.source.name]
          return vim_item
      end,
  },

  -- Set source precedence
  sources = cmp.config.sources({
    { name = 'nvim_lsp' },    -- For nvim-lsp
    { name = 'luasnip' },     -- For luasnip user
    { name = 'buffer' },      -- For buffer word completion
    { name = 'path' },        -- For path completion
  })
})
此时重启nvim,会自动安装插件,使用效果:

LSP-Mason代码补全
LSP:Language Server Protocol
NeoVim 支持 LSP 所有特性,通过 vim.lsp 提供 Lua 接口,支持定义跳转 (Definition)、引用查找 (References)、提示信息 (Hover Information)、自动补全 (Autocompletion)、代码重构 (Rename/Refactor)、格式化 (Formatting) 等等。
不同的LSP安装方法不同,不利于后续管理,我们安装LSP,是使用mson来安装的。
在init.lua中:
require("lsp")
在nvim/lua/lsp.lua中:
require('mason').setup({
    ui = {
        icons = {
            package_installed = "✓",
            package_pending = "➜",
            package_uninstalled = "✗"
        }
    }
})
require('mason-lspconfig').setup({
    -- A list of servers to automatically install if they're not already installed
    ensure_installed = { 'lua_ls'},
})

-- Set different settings for different languages' LSP
-- LSP list: https://github.com/neovim/nvim-lspconfig/blob/master/doc/server_configurations.md
-- How to use setup({}): https://github.com/neovim/nvim-lspconfig/wiki/Understanding-setup-%7B%7D
--     - the settings table is sent to the LSP
--     - on_attach: a lua callback function to run after LSP atteches to a given buffer
local lspconfig = require('lspconfig')

-- Customized on_attach function
-- See `:help vim.diagnostic.*` for documentation on any of the below functions
local opts = { noremap = true, silent = true }
vim.keymap.set('n', '<space>e', vim.diagnostic.open_float, opts)
vim.keymap.set('n', '[d', vim.diagnostic.goto_prev, opts)
vim.keymap.set('n', ']d', vim.diagnostic.goto_next, opts)
vim.keymap.set('n', '<space>q', vim.diagnostic.setloclist, opts)

-- Use an on_attach function to only map the following keys
-- after the language server attaches to the current buffer
local on_attach = function(client, bufnr)
    -- Enable completion triggered by <c-x><c-o>
    vim.api.nvim_buf_set_option(bufnr, 'omnifunc', 'v:lua.vim.lsp.omnifunc')

    -- See `:help vim.lsp.*` for documentation on any of the below functions
    local bufopts = { noremap = true, silent = true, buffer = bufnr }
    vim.keymap.set('n', 'gD', vim.lsp.buf.declaration, bufopts)
    vim.keymap.set('n', 'gd', vim.lsp.buf.definition, bufopts)
    vim.keymap.set('n', 'K', vim.lsp.buf.hover, bufopts)
    vim.keymap.set('n', 'gi', vim.lsp.buf.implementation, bufopts)
    vim.keymap.set('n', '<C-k>', vim.lsp.buf.signature_help, bufopts)
    vim.keymap.set('n', '<space>wa', vim.lsp.buf.add_workspace_folder, bufopts)
    vim.keymap.set('n', '<space>wr', vim.lsp.buf.remove_workspace_folder, bufopts)
    vim.keymap.set('n', '<space>wl', function()
        print(vim.inspect(vim.lsp.buf.list_workspace_folders()))
    end, bufopts)
    vim.keymap.set('n', '<space>D', vim.lsp.buf.type_definition, bufopts)
    vim.keymap.set('n', '<space>rn', vim.lsp.buf.rename, bufopts)
    vim.keymap.set('n', '<space>ca', vim.lsp.buf.code_action, bufopts)
    vim.keymap.set('n', 'gr', vim.lsp.buf.references, bufopts)
    vim.keymap.set("n", "<space>f", function()
        vim.lsp.buf.format({ async = true })
    end, bufopts)
end

-- Configure each language
-- How to add LSP for a specific language?
-- 1. use `:Mason` to install corresponding LSP
-- 2. add configuration below
lspconfig.pylsp.setup({
	on_attach = on_attach,
})
在nvim/lua/plugins.lua中:
require("lazy").setup({
    ...
	-- LSP manager
    {
	    "williamboman/mason.nvim",
	    "williamboman/mason-lspconfig.nvim",
	    "neovim/nvim-lspconfig"
    }
})
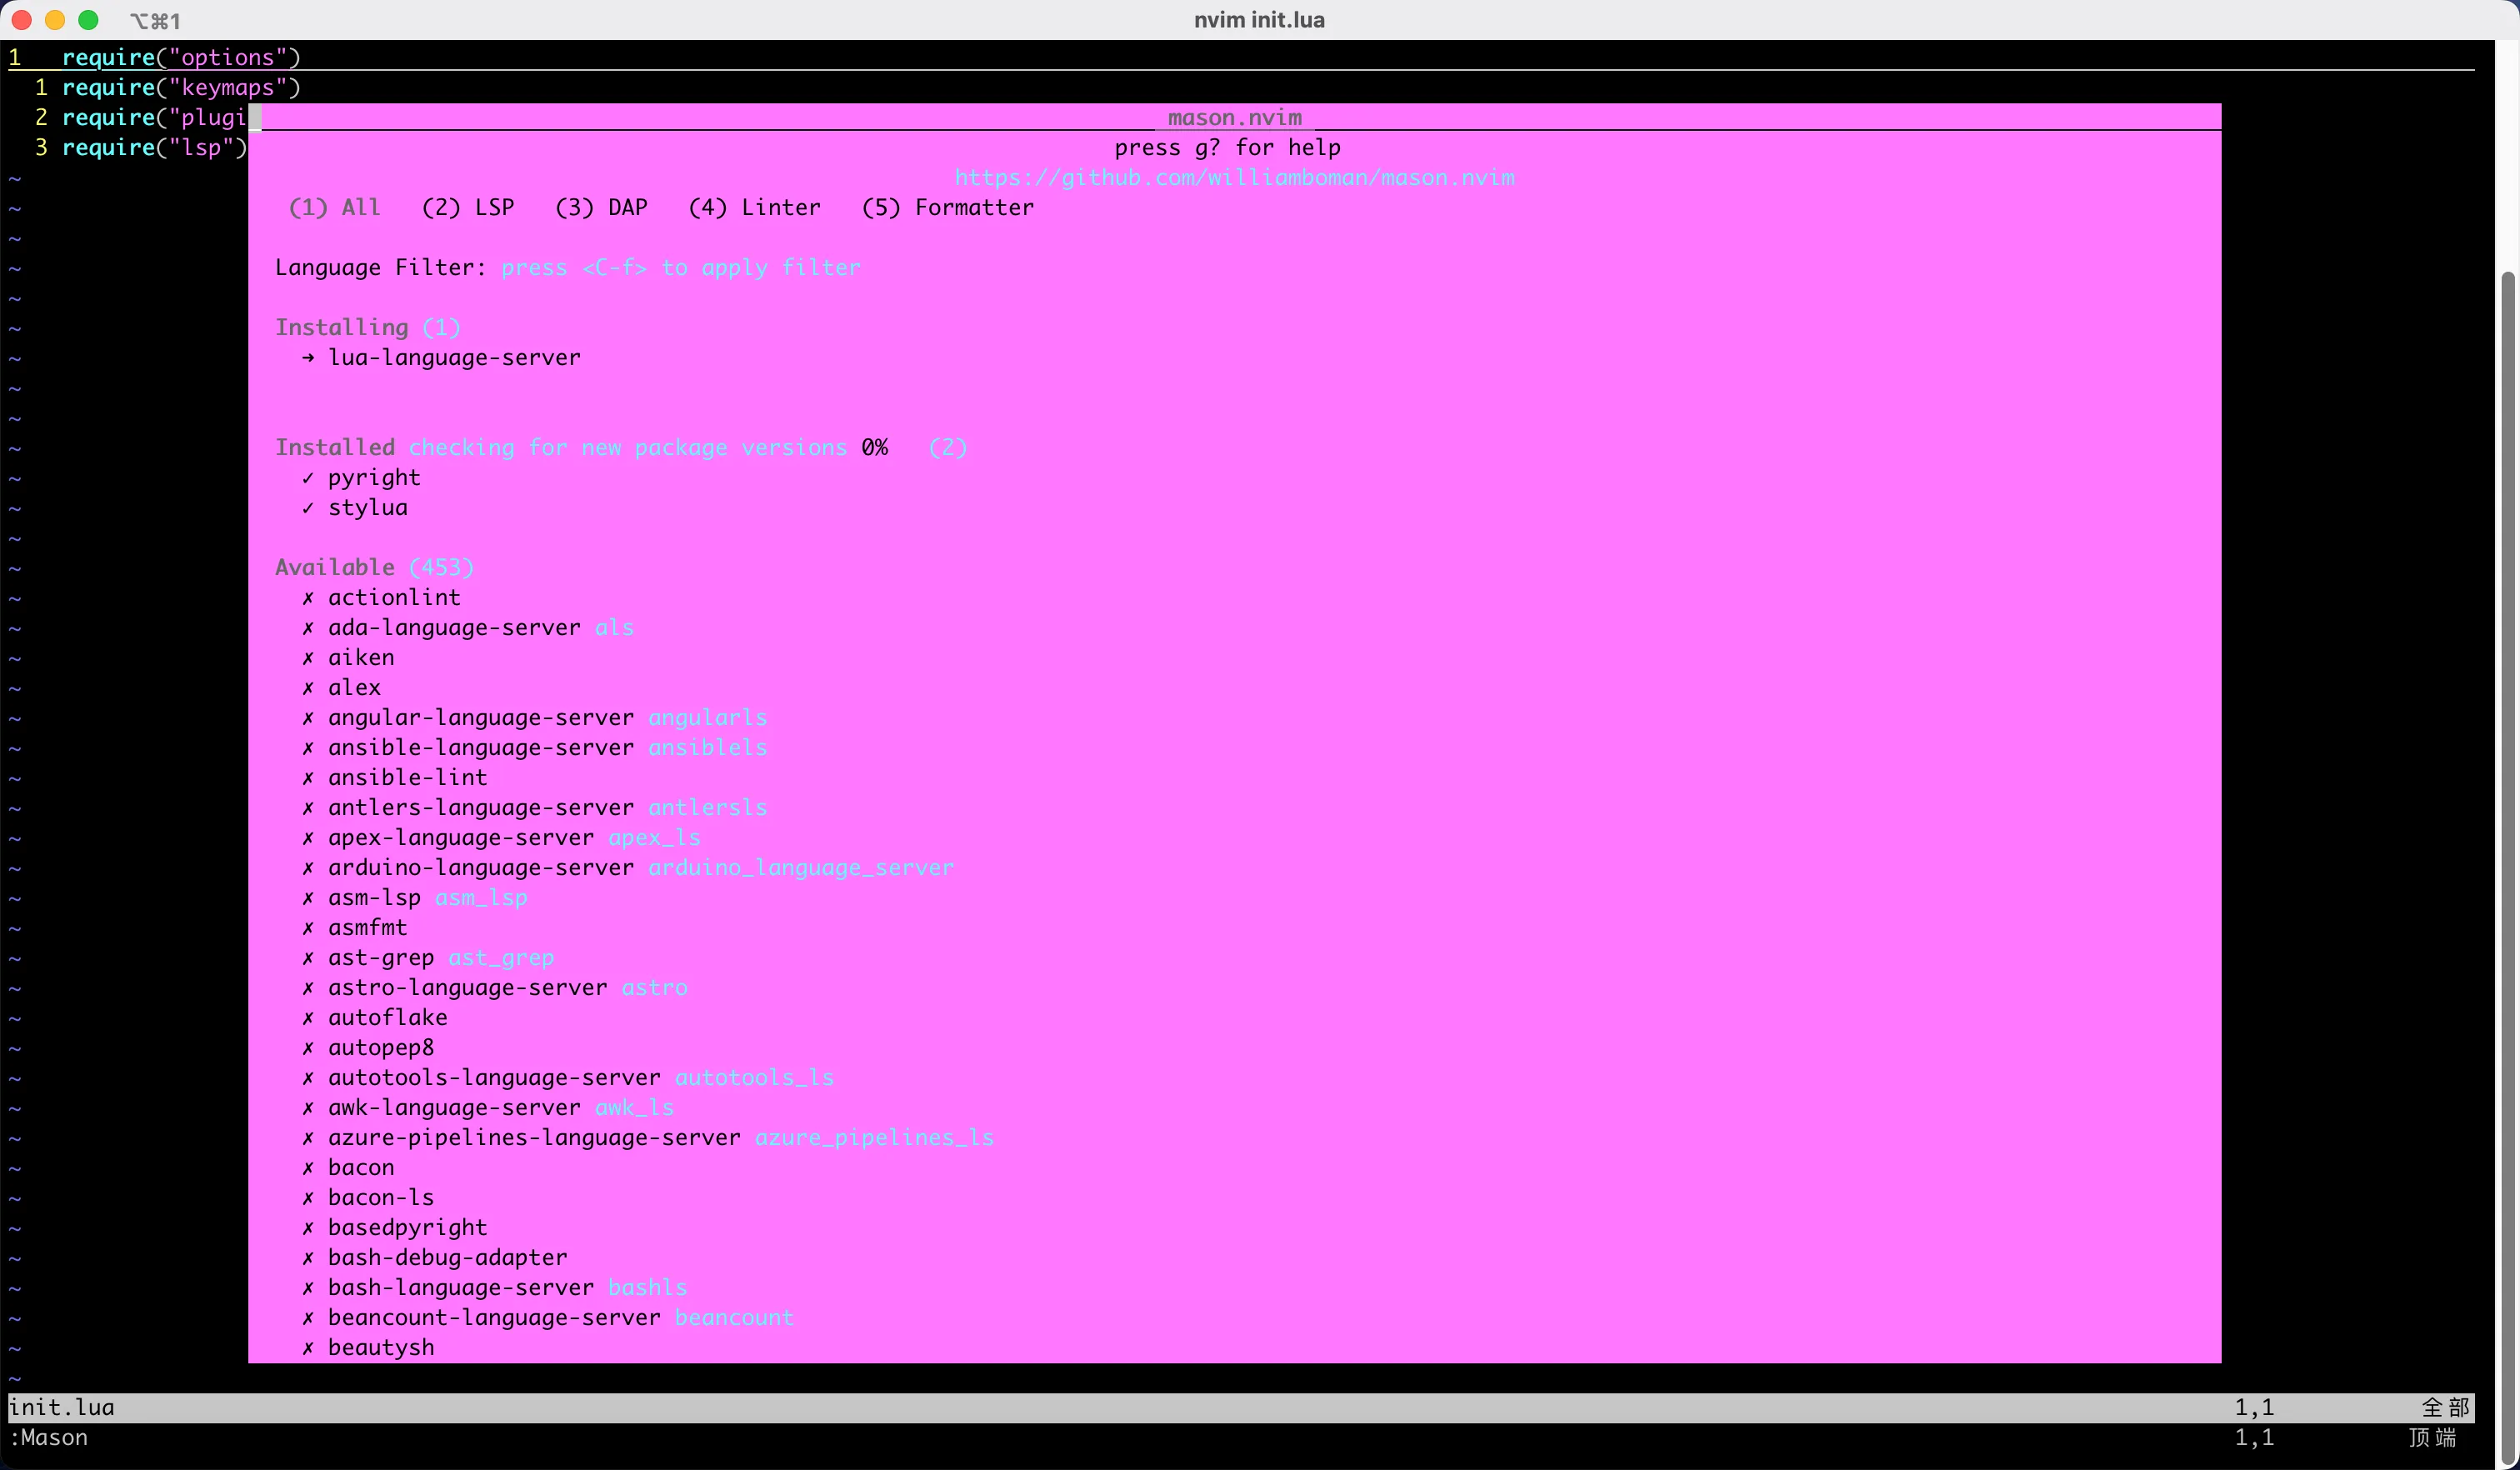
重新NeoVim,运行:Mason
neovim/nvim-lspconfig智能提示
- 智能代码补全:自动完成提示,提高编码效率。
- 实时错误检测:在编写代码时即时发现潜在问题。
- 文档跳转:快速查看函数或类定义,方便阅读源码。
- 重构工具:批量修改标识符,如变量名,用于大规模代码调整。
- 多语言支持:不仅限于主流的 JavaScript, Python, Go 等,还包括许多小众或专业�的语言。
https://github.com/neovim/nvim-lspconfig
Mason-lspconfig
https://github.com/williamboman/mason-lspconfig.nvim
安装lua server
MasonInstall lua-language-server
lazyvim安装mason-lspconfig
{
    event = "VeryLazy",
    "neovim/nvim-lspconfig",
    dependencies = { "williamboman/mason-lspconfig.nvim" },
},
配置:
-- Set up lspconfig.
local capabilities = require("cmp_nvim_lsp").default_capabilities()
require("neodev").setup({
	-- add any options here, or leave empty to use the default settings
})

require("lspconfig").lua_ls.setup({
	capabilities = capabilities,
	settings = {
		Lua = {
			runtime = {
				-- Tell the language server which version of Lua you're using (most likely LuaJIT in the case of Neovim)
				version = "LuaJIT",
			},
			diagnostics = {
				-- Get the language server to recognize the `vim` global
				globals = { "vim", "hs" },
			},
			workspace = {
				checkThirdParty = false,
				-- Make the server aware of Neovim runtime files
				library = {
					vim.api.nvim_get_runtime_file("", true),
					"/Applications/Hammerspoon.app/Contents/Resources/extensions/hs/",
					vim.fn.expand("~/lualib/share/lua/5.4"),
					vim.fn.expand("~/lualib/lib/luarocks/rocks-5.4"),
					"/opt/homebrew/opt/openresty/lualib",
				},
			},
			completion = {
				callSnippet = "Replace",
			},
			-- Do not send telemetry data containing a randomized but unique identifier
			telemetry = {
				enable = false,
			},
		},
	},
})

require("lspconfig").pyright.setup({
	capabilities = capabilities,
})
null-ls格式化
null-ls.nvim 是一个 Neovim 插件,它提供了一种在 Neovim 中使用各种代码格式化、lint、诊断等工具的方法
null-ls-format:https://github.com/jose-elias-alvarez/null-ls.nvim
默认的format方式:lua vim.lsp.buf.format()
	{
		event = "VeryLazy",
		"jose-elias-alvarez/null-ls.nvim",
		config = function()
			local null_ls = require("null-ls")

			local augroup = vim.api.nvim_create_augroup("LspFormatting", {})
			null_ls.setup({
				sources = {
					null_ls.builtins.formatting.stylua,
					null_ls.builtins.formatting.black,
				},
				on_attach = function(client, bufnr)
					if client.supports_method("textDocument/formatting") then
						vim.api.nvim_clear_autocmds({ group = augroup, buffer = bufnr })
						vim.api.nvim_create_autocmd("BufWritePre", {
							group = augroup,
							buffer = bufnr,
							callback = function()
								-- on 0.8, you should use vim.lsp.buf.format({ bufnr = bufnr }) instead
								vim.lsp.buf.format({ bufnr = bufnr })
							end,
						})
					end
				end,
			})
		end,
	},
配置LSP格式化文件:
-- Use LspAttach autocommand to only map the following keys
-- after the language server attaches to the current buffer
vim.api.nvim_create_autocmd("LspAttach", {
	group = vim.api.nvim_create_augroup("UserLspConfig", {}),
	callback = function(ev)
		-- Enable completion triggered by <c-x><c-o>
		vim.bo[ev.buf].omnifunc = "v:lua.vim.lsp.omnifunc"

		-- Buffer
		-- See `:help vim.lsp.*` for documentation on any of the below functions
		local opts = { buffer = ev.buf }
		vim.keymap.set("n", "gD", vim.lsp.buf.declaration, opts)
		vim.keymap.set("n", "gd", vim.lsp.buf.definition, opts)
		vim.keymap.set("n", "K", vim.lsp.buf.hover, opts)
		vim.keymap.set("n", "gi", vim.lsp.buf.implementation, opts)
		vim.keymap.set("n", "<C-k>", vim.lsp.buf.signature_help, opts)
		vim.keymap.set("n", "<leader>wa", vim.lsp.buf.add_workspace_folder, opts)
		vim.keymap.set("n", "<leader>wr", vim.lsp.buf.remove_workspace_folder, opts)
		vim.keymap.set("n", "<leader>wl", function()
			print(vim.inspect(vim.lsp.buf.list_workspace_folders()))
		end, opts)
		vim.keymap.set("n", "<leader>D", vim.lsp.buf.type_definition, opts)
		vim.keymap.set("n", "<leader>rn", vim.lsp.buf.rename, opts)
		vim.keymap.set({ "n", "v" }, "<leader>ca", vim.lsp.buf.code_action, opts)
		vim.keymap.set("n", "gr", vim.lsp.buf.references, opts)
		vim.keymap.set("n", "<leader>f", function()
			vim.lsp.buf.format({ async = true })
		end, opts)
	end,
})
格式化文件快捷键:空格+f
gD: 跳转到声明 gd: 跳转到定义 K: 显示悬浮提示 gi: 跳转到实现
<C-k>: 显示函数签名<leader>wa: 添加工作区文件夹<leader>wr: 移除工作区文件夹<leader>wl: 列出工作区文件夹<leader>D: 跳转到类型定义<leader>rn: 重命名符号<leader>ca: 代码操作 gr: 查找引用<leader>f: 格式化当前缓冲区
Nvim-telescope文件搜索
nvim-telescope:https://github.com/nvim-telescope/telescope.nvim,
ripgrep?
{
    cmd = "Telescope",
    keys = {
        { "<leader>p", ":Telescope find_files<CR>", desc = "find files" },
        { "<leader>P", ":Telescope live_grep<CR>", desc = "grep file" },
        { "<leader>rs", ":Telescope resume<CR>", desc = "resume" },
        { "<leader>q", ":Telescope oldfiles<CR>", desc = "oldfiles" },
    },
    "nvim-telescope/telescope.nvim",
    tag = "0.1.1",
    -- or                              , branch = '0.1.1',
    dependencies = { "nvim-lua/plenary.nvim" },
},
说明:
<leader>p: 打开 Telescope 的文件查找功能<leader>P: 打开 Telescope 的文件内容搜索功能<leader>rs: 恢复上一次的 Telescope 搜索<leader>q: 打开 Telescope 的最近打开的文件列表
neodev补全文档
在编写 Neovim 的 Lua 插件时,就可以享受到 nvim-neodev 提供的各种便利功能了。比如代码补全、类型定义等。
https://github.com/folke/neodev.nvim
lazyvim安装:
	{
		"folke/neodev.nvim",
	},
配置
require("neodev").setup({
	-- add any options here, or leave empty to use the default settings
})
auto-pair自动加括号
auto-pair 是一个 Neovim 插件,它可以自动补全括号、引号等成对出现的字符。这个插件非常有助于提高编码效率,减少手动输入成对字符的麻烦。
lazyvim安装
	{
		"windwp/nvim-autopairs",
		event = "VeryLazy",
		config = function()
			require("nvim-autopairs").setup({})
		end,
	},
配置:
local cmp = require("cmp")
local cmp_autopairs = require("nvim-autopairs.completion.cmp")
cmp.event:on("confirm_done", cmp_autopairs.on_confirm_done())
vim-fugitive
通过使用 vim-fugitive,可以在 Vim 中直接执行 Git 命令,如提交、合并、推送等操作,而无需切换到命令行界面。
https://github.com/tpope/vim-fugitive
{
	event = "VeryLazy",
	"tpope/vim-fugitive",
	cmd = "Git",
	config = function()
		-- convert
		vim.cmd.cnoreabbrev([[git Git]])
		vim.cmd.cnoreabbrev([[gp Git push]])
	end,
},
使用方式:
-
命令模式输入
:Git打开界面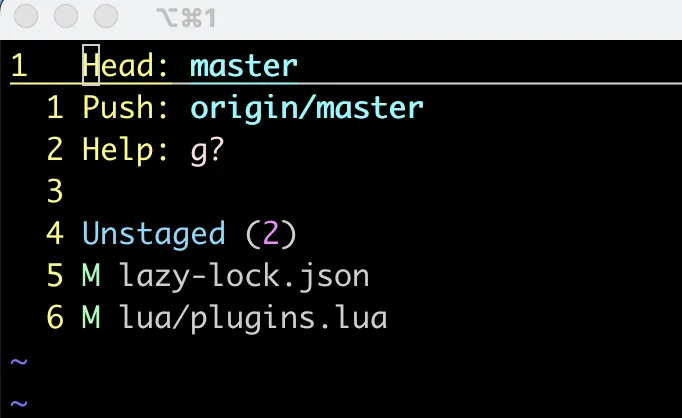
此时,光标移动到要操作的文件,按S可以移动到staged里
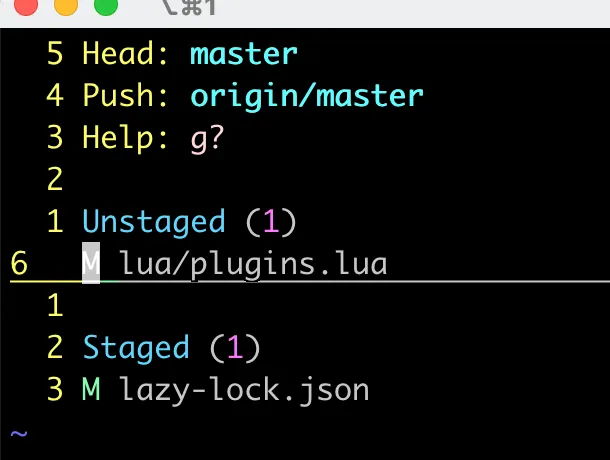
按+可以展开关闭修改的文件内容
按-可以加入移除staged区域
commit提交:
按cc可以进去commit界面,然后可以自己写git message
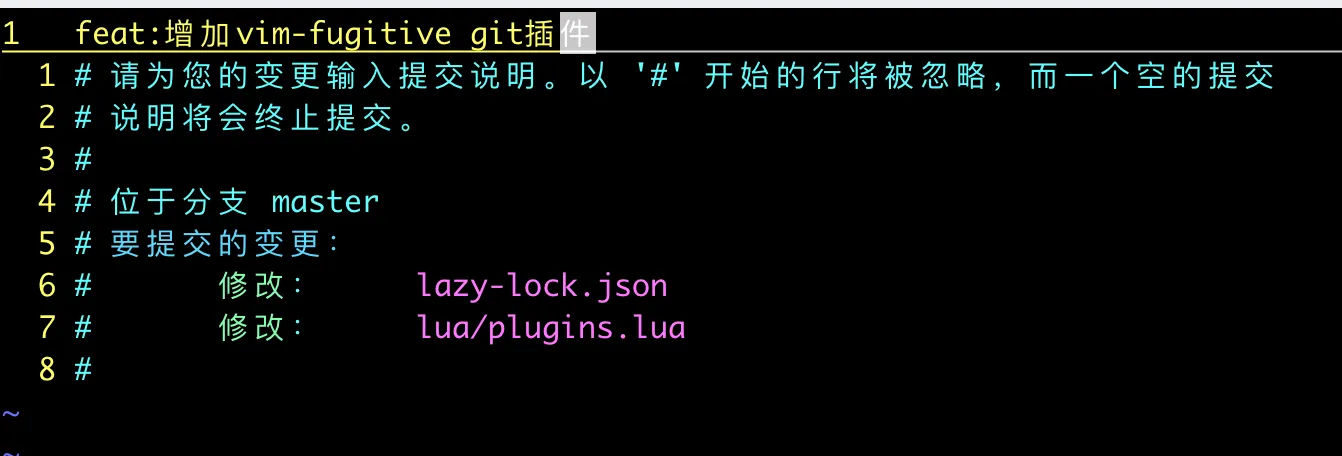
提交:Git push
gitsigns
为了在 Neovim 中提供更好的 Git 工作流支持,让开发者在编写代码时可以更方便地查看和管理 Git 相关信息。
https://github.com/lewis6991/gitsigns.nvim
安装:
{
    event = "VeryLazy",
    "lewis6991/gitsigns.nvim",
    config = function()
        require("gitsigns").setup()
    end,
},
conflict-marker
conflict-marker.vim 是一个 Vim 插件,它可以帮助开发者更好地处理 Git 合并冲突。
https://github.com/rhysd/conflict-marker.vim
安装:
{
    "rhysd/conflict-marker.vim",
    event = "VeryLazy",
},
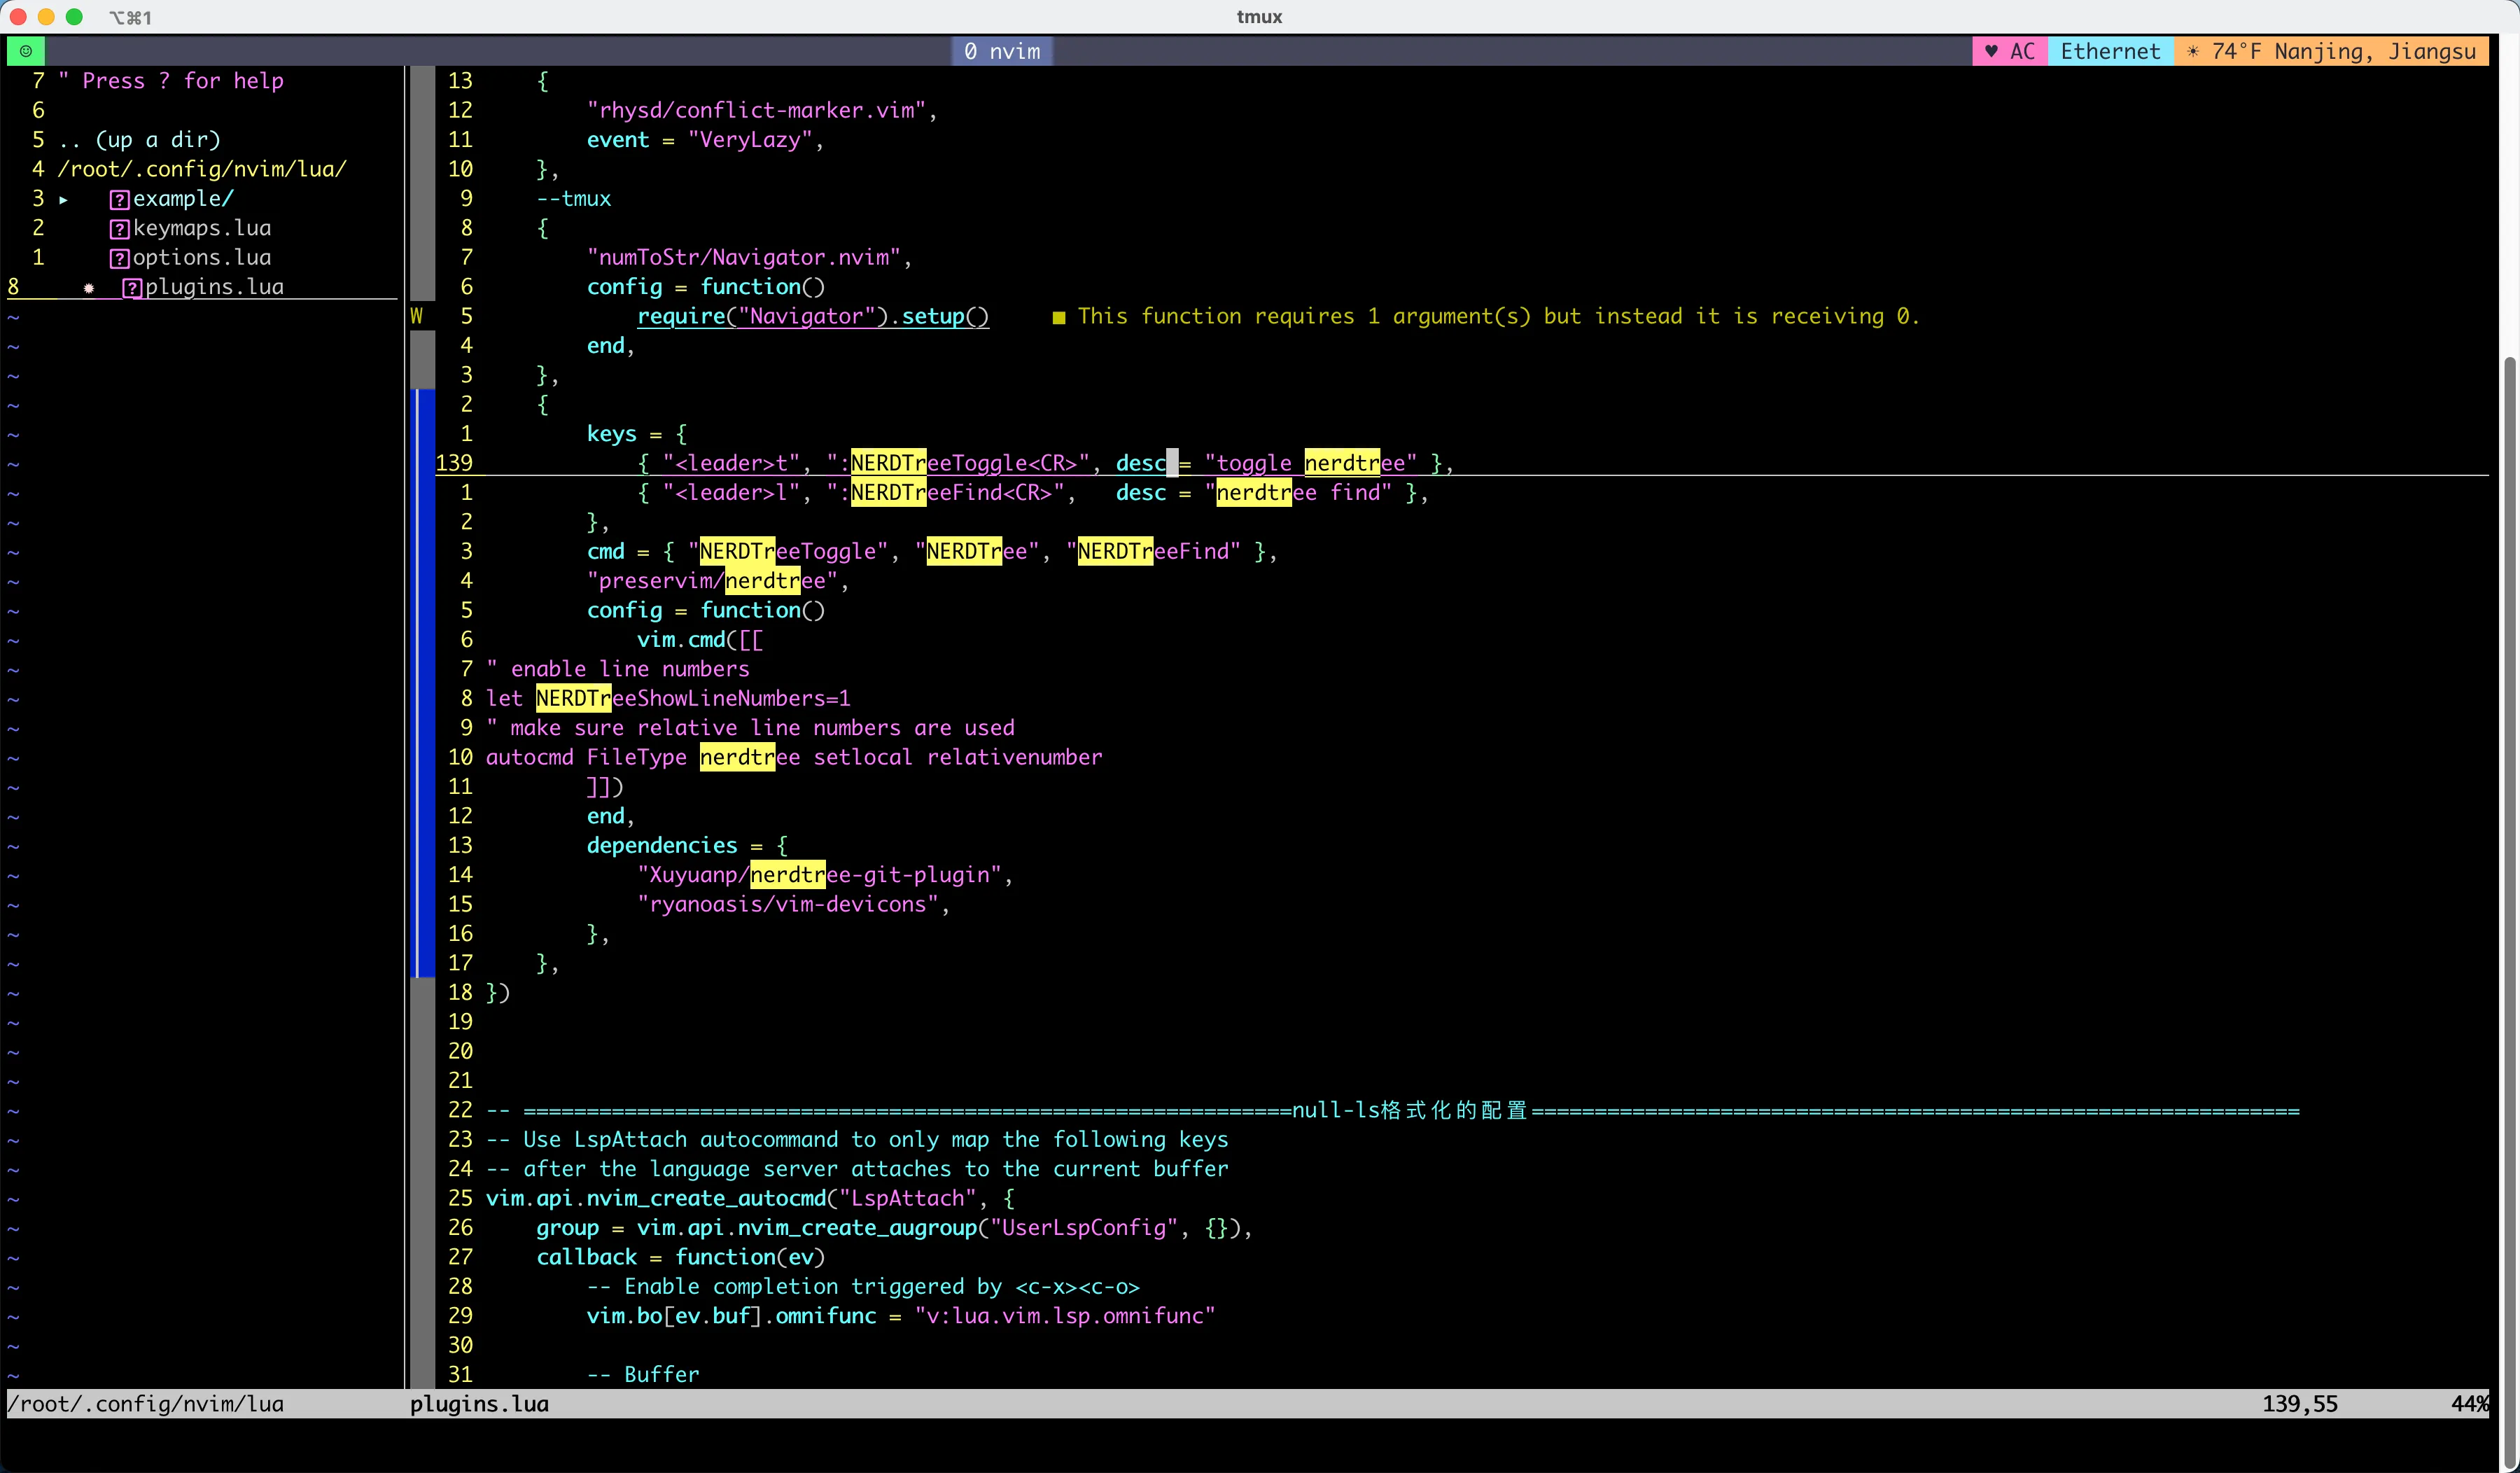
nerdtree
https://github.com/preservim/nerdtree
https://github.com/Xuyuanp/nerdtree-git-plugin
https://github.com/ryanoasis/vim-devicons
安装配置:
{
    keys = {
        { "<leader>t", ":NERDTreeToggle<CR>", desc = "toggle nerdtree" },
        { "<leader>l", ":NERDTreeFind<CR>", desc = "nerdtree find" },
    },
    cmd = { "NERDTreeToggle", "NERDTree", "NERDTreeFind" },
    "preservim/nerdtree",
    config = function()
        vim.cmd([[
" enable line numbers
let NERDTreeShowLineNumbers=1
" make sure relative line numbers are used
autocmd FileType nerdtree setlocal relativenumber
    ]])
    end,
    dependencies = {
        "Xuyuanp/nerdtree-git-plugin",
        "ryanoasis/vim-devicons",
    },
},
快捷键:
<leader>t: 切换NERDTree窗口的显示/隐藏<leader>l: 在当前文件所在目录打开NERDTree窗口
命令:
- NERDTreeToggle: 切换NERDTree窗口的显示/隐藏
- NERDTree: 打开NERDTree窗口
- NERDTreeFind: 在NERDTree窗口中定位当前文件
运行效果:
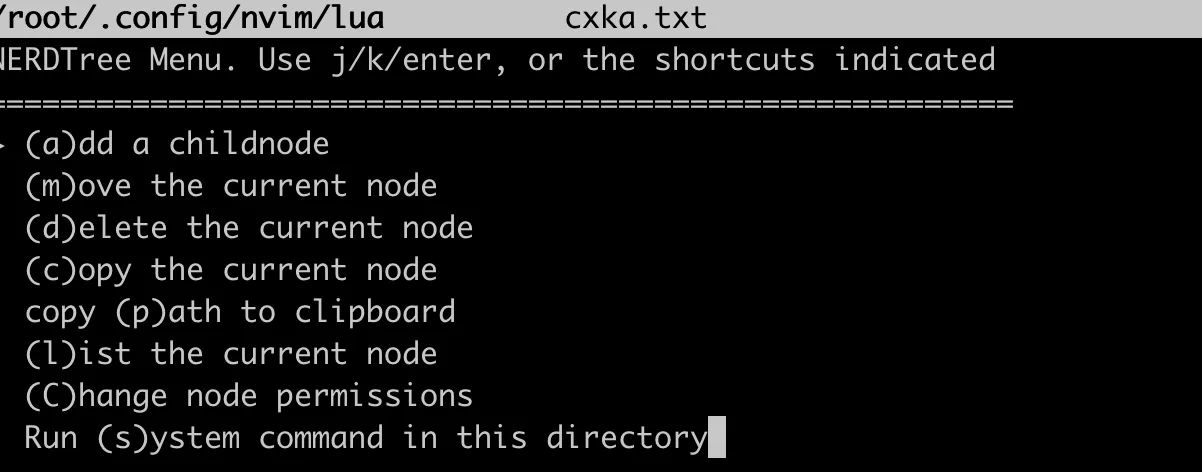
左侧会有目录结构:
文件操作:
创建文件,先按M,再按a
persistemce
https://github.com/folke/persistence.nvim
安装配置:
{
    "folke/persistence.nvim",
    event = "BufReadPre", -- this will only start session saving when an actual file was opened
    config = function()
        require("persistence").setup()
    end,
},
配置:
local args = vim.api.nvim_get_vvar("argv")
-- embed
if #args > 2 then
else
	require("persistence").load({ last = true })
end

-- persistence on start
vim.api.nvim_set_hl(0, "@lsp.type.variable.lua", { link = "Normal" })
vim.api.nvim_set_hl(0, "Identifier", { link = "Normal" })
vim.api.nvim_set_hl(0, "TSVariable", { link = "Normal" })
Treesitter
Treesitter 是一个用于解析和操作代码的库,它被广泛应用于各种编程语言相关的工具和编辑器插件中。
https://github.com/nvim-treesitter/nvim-treesitter
配置:
	{
		"nvim-treesitter/nvim-treesitter",
		config = function()
			require("nvim-treesitter.configs").setup({
				incremental_selection = {
					enable = true,
					keymaps = {
						node_incremental = "v",
						node_decremental = "<BS>",
					},
				},
				highlight = {
					enable = true,
				},
			})
		end,
	},
比如现在想要给vim高亮:
先去命令行安装:TsInstall vim
报错:
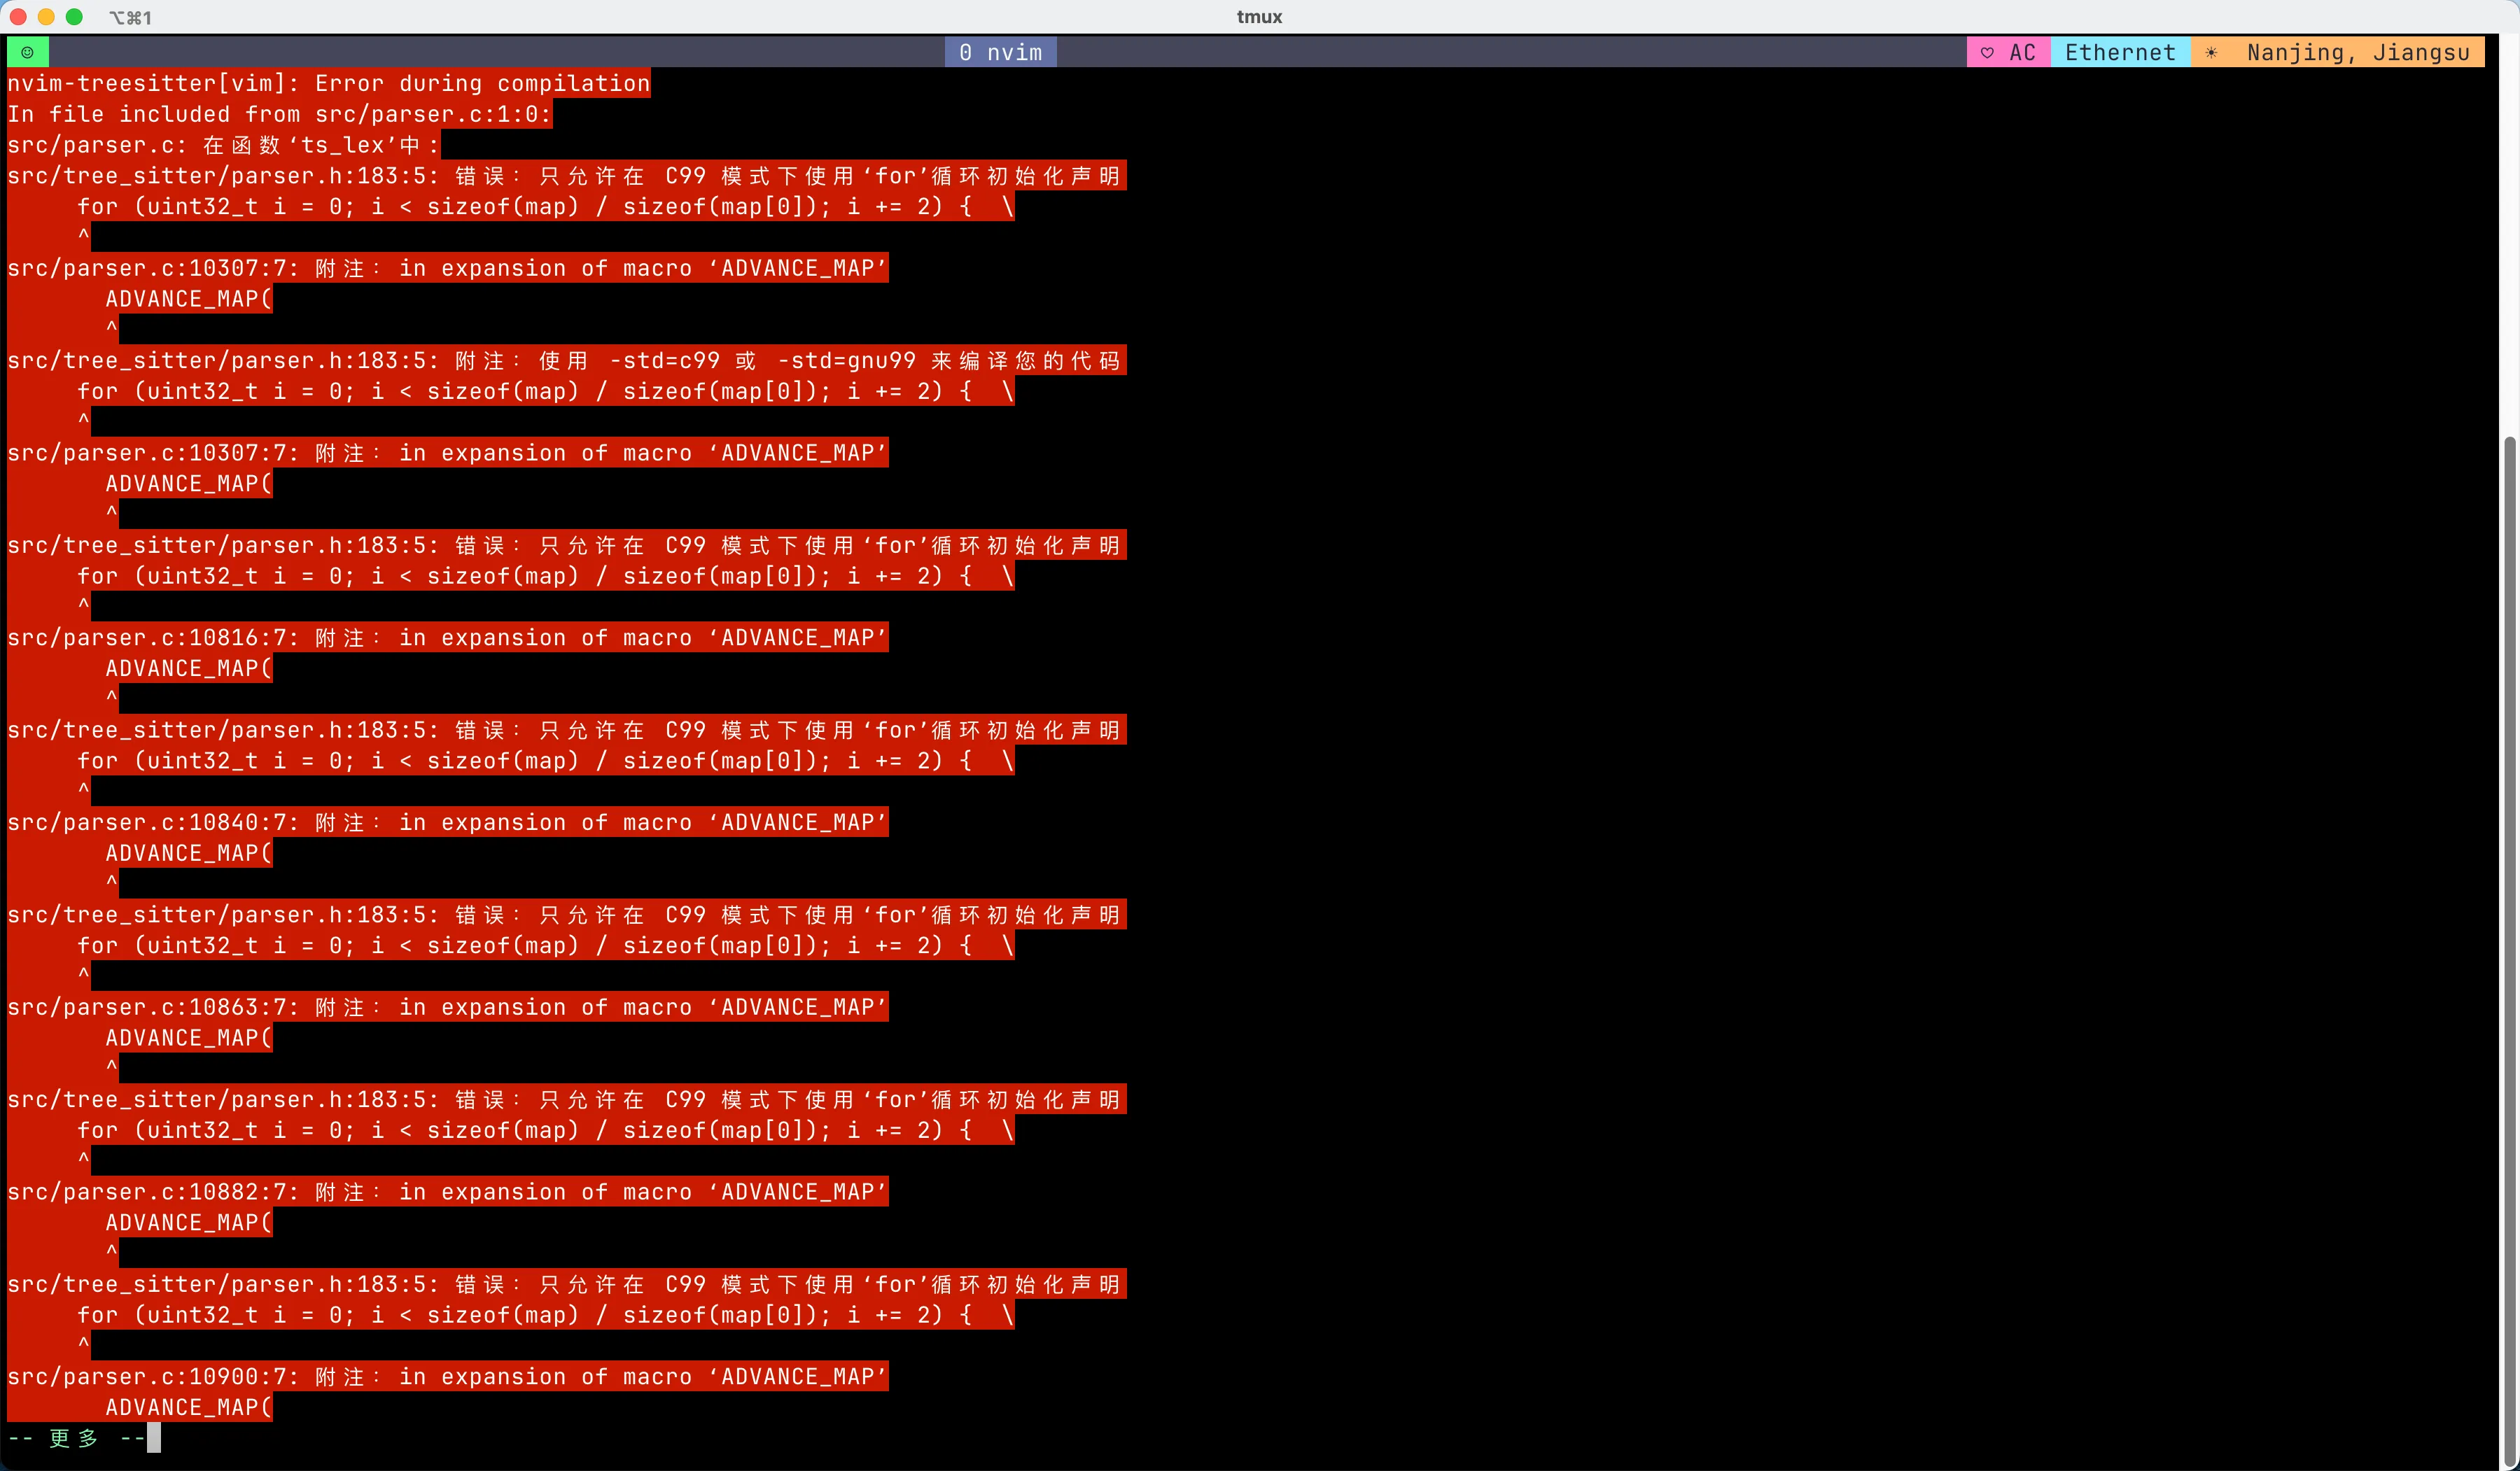
我们去检查treesitter的依赖要哪些:
命令行:checkhealth nvim-treesitter

说明我们的GCC版本不满足
Tmux联动
https://github.com/numToStr/Navigator.nvim
将 ~/.tmux.conf 文件移动到 ~/.config/nvim 目录下并创建软链接:
mv ~/.tmux.conf ~/.config/nvim/
接着:
ln -s ~/.config/nvim/.tmux.conf ~/.tmux.conf
Navigator
https://github.com/numToStr/Navigator.nvim
lazyvim安装:
{
    "numToStr/Navigator.nvim",
    config = function()
        require("Navigator").setup()
    end,
},
配置tmux:https://github.com/numToStr/Navigator.nvim/wiki/Tmux-Integration
version_pat='s/^tmux[^0-9]*([.0-9]+).*/\1/p'

is_vim="ps -o state= -o comm= -t '#{pane_tty}' \
    | grep -iqE '^[^TXZ ]+ +(\\S+\\/)?g?(view|n?vim?x?)(diff)?$'"
tmux bind-key -n C-h if-shell "$is_vim" "send-keys C-h" "select-pane -L"
tmux bind-key -n C-j if-shell "$is_vim" "send-keys C-j" "select-pane -D"
tmux bind-key -n C-k if-shell "$is_vim" "send-keys C-k" "select-pane -U"
tmux bind-key -n C-l if-shell "$is_vim" "send-keys C-l" "select-pane -R"
tmux_version="$(tmux -V | sed -En "$version_pat")"
tmux setenv -g tmux_version "$tmux_version"

tmux if-shell -b '[ "$(echo "$tmux_version < 3.0" | bc)" = 1 ]' \
  "bind-key -n 'C-\\' if-shell \"$is_vim\" 'send-keys C-\\'  'select-pane -l'"
tmux if-shell -b '[ "$(echo "$tmux_version >= 3.0" | bc)" = 1 ]' \
  "bind-key -n 'C-\\' if-shell \"$is_vim\" 'send-keys C-\\\\'  'select-pane -l'"

tmux bind-key -T copy-mode-vi C-h select-pane -L
tmux bind-key -T copy-mode-vi C-j select-pane -D
tmux bind-key -T copy-mode-vi C-k select-pane -U
tmux bind-key -T copy-mode-vi C-l select-pane -R
tmux bind-key -T copy-mode-vi C-\\ select-pane -l
使用:
向右开启一个tmux终端:ctrl+b+%
向下开启:ctrl+b+"
然后在窗口中移动:ctrl+hjkl
一些问题
如何在进入neovim的时候保留上一次状态?
persistence.nvim
https://github.com/folke/persistence.nvim
keybinding太多记不住:
which-key.nvim:
https://github.com/folke/which-key.nvim
nerdtree左侧图标等显示为方框问号:
需要改自己电脑的字体
由于vimrc中, 我已经 "set encoding=utf-8", 所以一定不是编码的问题, 猜想是字体的问题. 以下贴子佐证了我的猜想 遇到同样问题的老外 vim-devicons Q&A 解答 问题是当前要做的, 是给基础镜像 alpine 增加一个字体, 还是给我使用的 iTerm2 设置一下字体呢 ? 当然是后者, vim 使用中, 文本最终的展现形式是用显示出来的那台电脑决定的, 难道ssh到别的主机, 别人安装好字体, 我的终端就可以使用 ? 显然是不行的. iTerm2 -> Preferences -> Profiles -> Text -> Font -> Use a different font for non-ASCii text, 勾选后, 在 Non-ASCii Font -> Change Font -> Hack Nerd Font.
字体怎么来的 ? 上面的贴子写的很清楚, 你要安装在自己的电脑上, 我的是 Mac, 使用 homebrew 安装即可
brew install font-hack-nerd-font