nginx配置
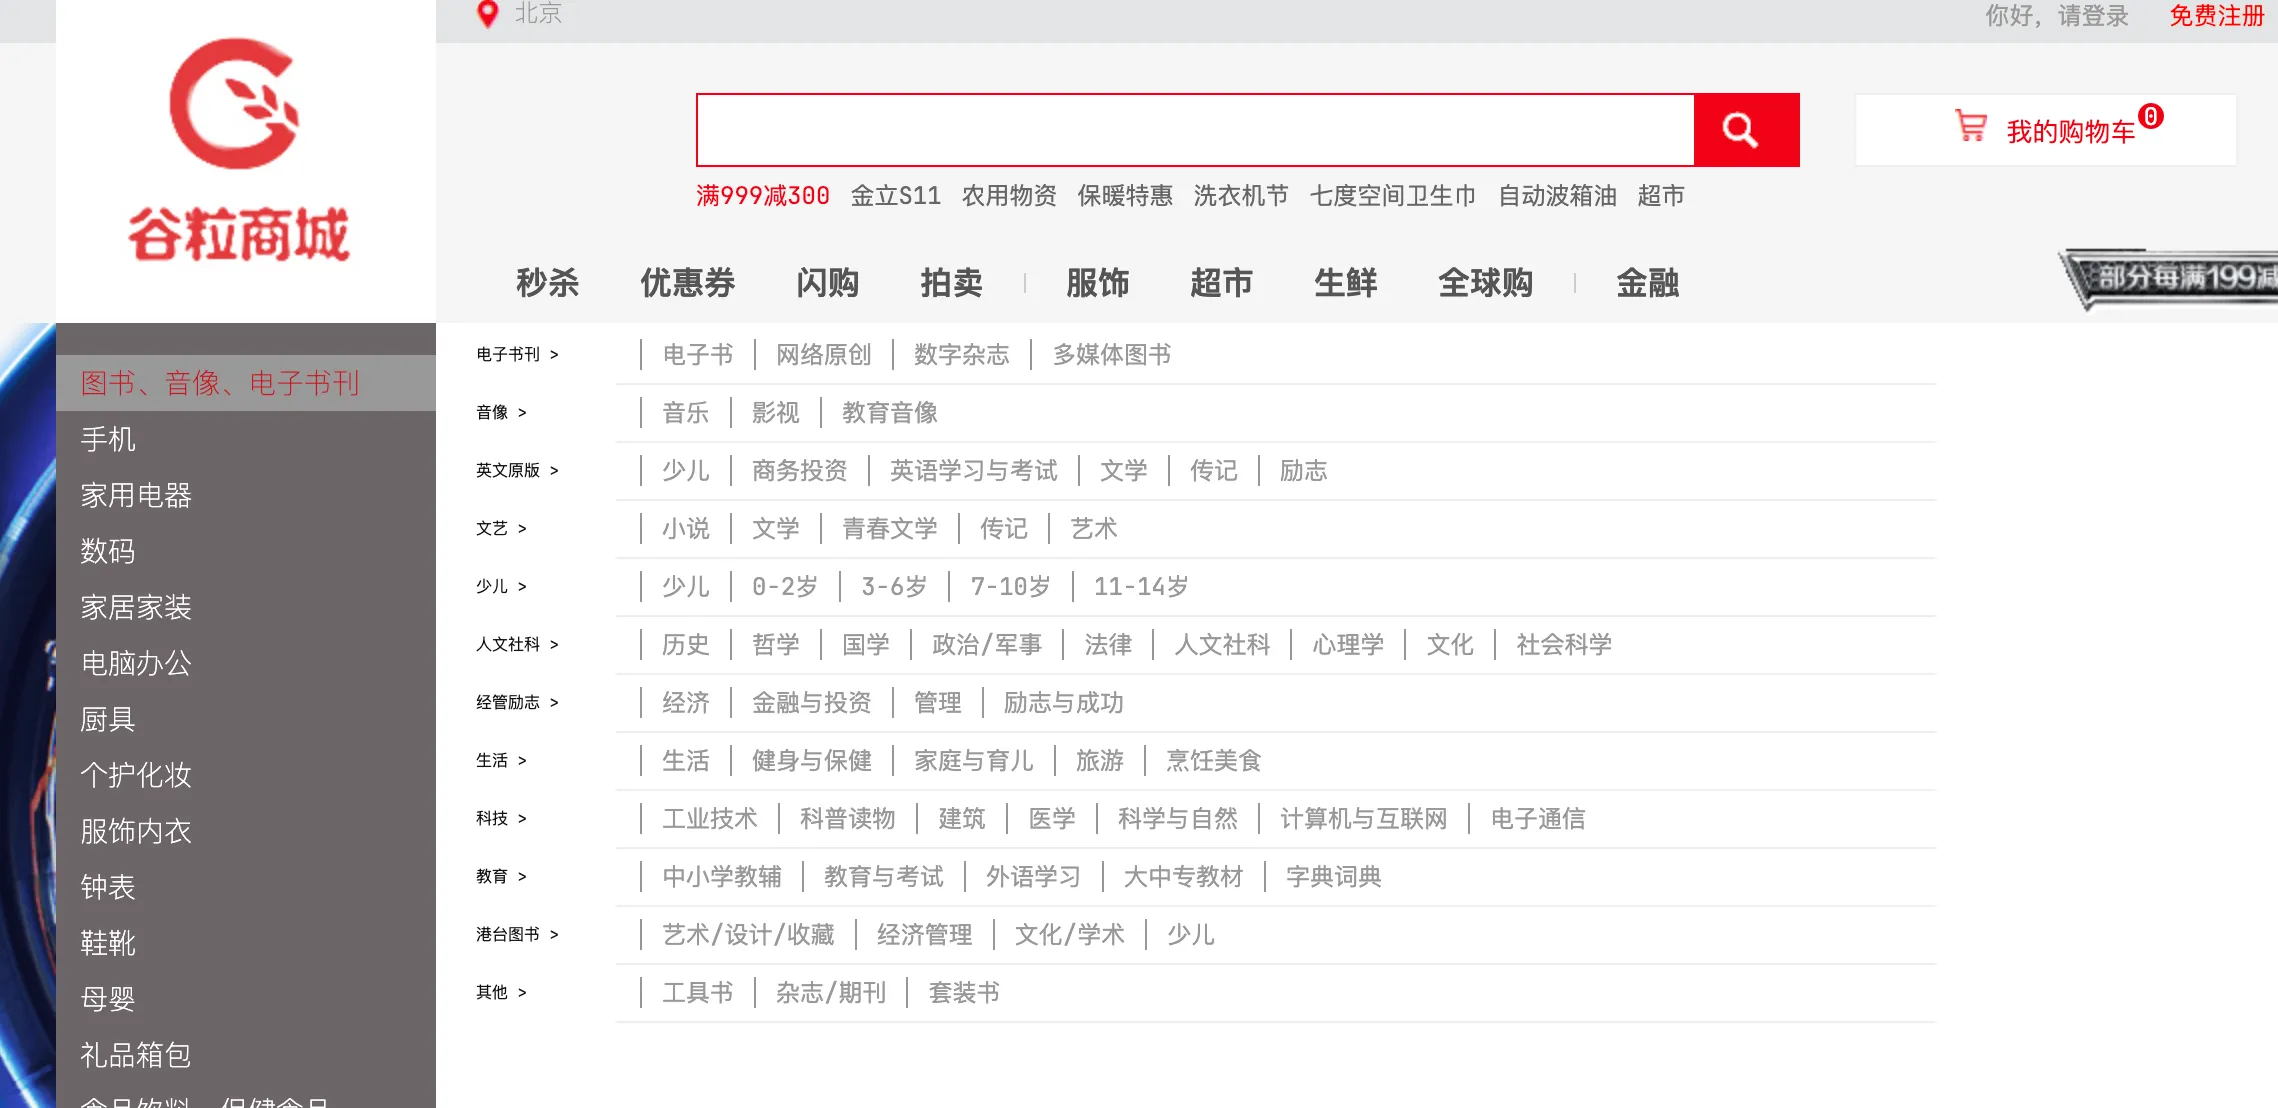
首页模版
product模块使用模版引擎
<!-- 模板引擎 -->
<dependency>
    <groupId>org.springframework.boot</groupId>
    <artifactId>spring-boot-starter-thymeleaf</artifactId>
</dependency>
关闭缓存:
spring:
	thymeleaf:
	  cache: false
拷贝页面:

devtools热部署
<!-- https://mvnrepository.com/artifact/org.springframework.boot/spring-boot-devtools -->
<dependency>
    <groupId>org.springframework.boot</groupId>
    <artifactId>spring-boot-devtools</artifactId>
    <optional>true</optional>
</dependency>
快捷键command+shift+F9
首页三级分类接口:

//index/catalog.json
@GetMapping("/index/catalog.json")
@ResponseBody
public Map<String, List<Catelog2Vo>> getCatalogJson() {
    Map<String, List<Catelog2Vo>> catalogJson = categoryService.getCatalogJson();
    return catalogJson;
}
@Override
public Map<String, List<Catelog2Vo>> getCatalogJson() {
    //查出所有1级分类
    List<CategoryEntity> level1Categories = this.getLevel1Categories();

    //封装数据
    Map<String, List<Catelog2Vo>> parentCid = level1Categories.stream().collect(Collectors.toMap(k -> {
        return k.getCatId().toString();
    }, v -> {
        //每一个1级分类,查到这个一级分类的二级分类
        List<CategoryEntity> categoryEntities = this.baseMapper.selectList(new LambdaQueryWrapper<CategoryEntity>()
                .eq(CategoryEntity::getParentCid, v.getCatId()));
        //封装数据
        List<Catelog2Vo> collect = null;
        if (categoryEntities != null) {
            collect = categoryEntities.stream().map(level2 -> {
                Catelog2Vo catelog2Vo = new Catelog2Vo(v.getCatId().toString(), null,
                        level2.getCatId().toString(), level2.getName());
                //找当前二级分类的三级分类封装成vo
                List<CategoryEntity> level3Catelog = baseMapper.selectList(new LambdaQueryWrapper<CategoryEntity>()
                        .eq(CategoryEntity::getParentCid, level2.getCatId()));
                if (level3Catelog != null) {
                    List<Catelog2Vo.Catalog3Vo> catalog3Vos = level3Catelog.stream().map(level3 -> {
                        Catelog2Vo.Catalog3Vo catalog3Vo = new Catelog2Vo.Catalog3Vo(level2.getCatId().toString(),
                                level3.getCatId().toString(), level3.getName());
                        return catalog3Vo;
                    }).collect(Collectors.toList());
                    catelog2Vo.setCatalog3List(catalog3Vos);
                }
                return catelog2Vo;
            }).collect(Collectors.toList());
        }
        return collect;
    }));
    return parentCid;
}
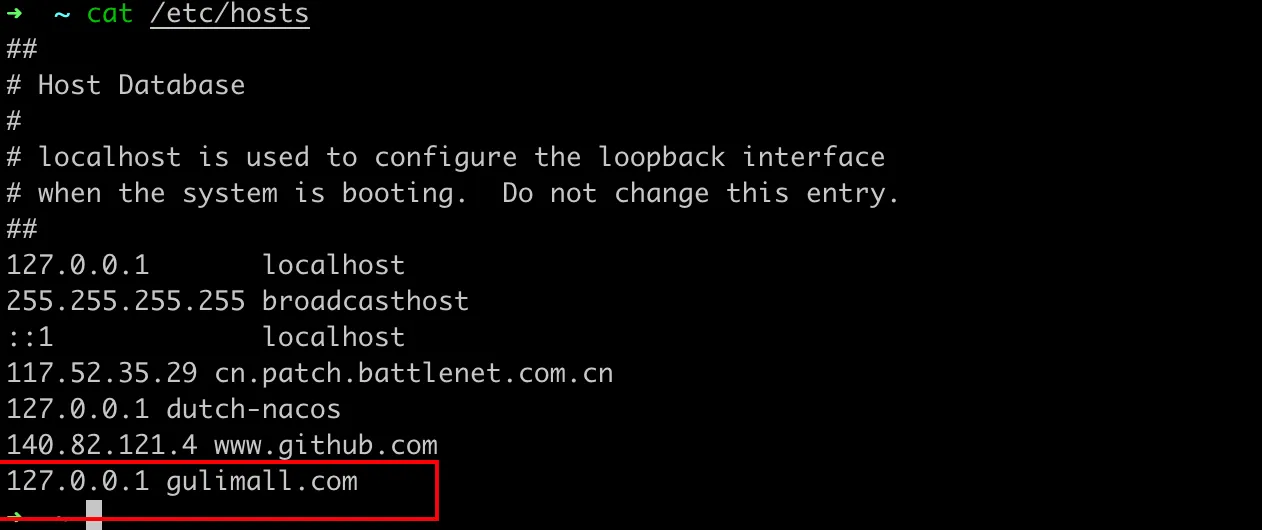
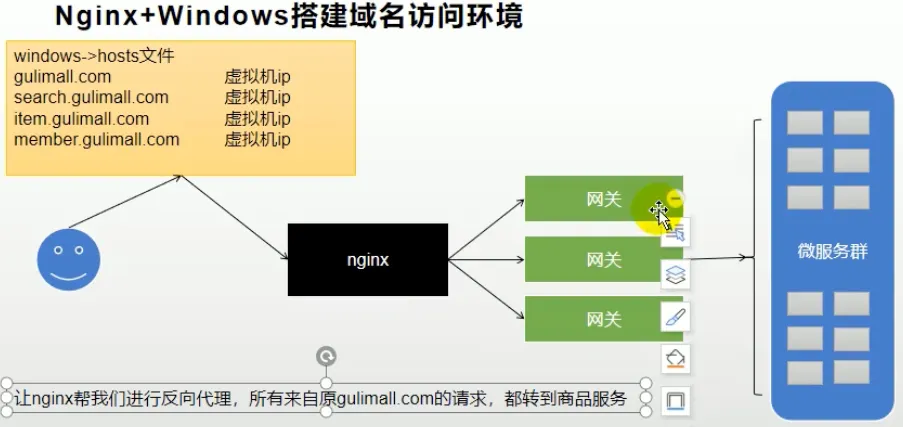
nginx配置域名

下次访问项目,可以直接用gulimall.com进行访问

server {
    listen       80;
    server_name  gulimall.com;

    #access_log  /var/log/nginx/host.access.log  main;

    location / {
        proxy_pass http://192.168.1.11:10001;
    }

    #error_page  404              /404.html;

    # redirect server error pages to the static page /50x.html
    #
    error_page   500 502 503 504  /50x.html;
    location = /50x.html {
        root   /usr/share/nginx/html;
    }

    # proxy the PHP scripts to Apache listening on 127.0.0.1:80
    #
    #location ~ \.php$ {
    #    proxy_pass   http://127.0.0.1;
    #}

    # pass the PHP scripts to FastCGI server listening on 127.0.0.1:9000
    #
    #location ~ \.php$ {
    #    root           html;
    #    fastcgi_pass   127.0.0.1:9000;
    #    fastcgi_index  index.php;
    #    fastcgi_param  SCRIPT_FILENAME  /scripts$fastcgi_script_name;
    #    include        fastcgi_params;
    #}

    # deny access to .htaccess files, if Apache's document root
    # concurs with nginx's one
    #
    #location ~ /\.ht {
    #    deny  all;
    #}
}
nginx负载均衡
在总配置nginx.conf中,http块下面:
    upstream gulimall {
        server 192.168.1.11:88;
    }
在gulimall.conf中,server块下面:
server {
    listen       80;
    server_name  gulimall.com;

    #access_log  /var/log/nginx/host.access.log  main;

    location / {
        proxy_pass http://gulimall;
    }
}
此时访问gulimall.com代理不了,但是访问http://gulimall.com/api/product/attrattrgrouprelation/list却可以
这是因为nginx在代理给网关的时候,会丢失请求的host信息
修改配置:
    location / {
        proxy_set_header Host $host;
        proxy_pass http://gulimall;
    }